
I have shared a few edible cookie dough recipes but haven’t shared an in-depth post on how to heat treat flour.
Get ready to learn everything you need to know about heat treated flour, along with my favorite way to make it!
Do You Have to Heat Treat Flour?
Why should you heat treat flour? This is a super important step to make any batter or dough that contains raw flour safe to consume.
This matters for recipes like edible cookie dough or no-bake cookies.


The FDA has shared that raw flour can contain harmful bacteria like salmonella or E. coli.
By heating the flour, you are essentially cooking it!
This kills any harmful bacteria that may be present and makes raw flour safe to consume.
The magic is all about what temperature you heat the flour to.
Heating raw all-purpose flour to 160 F / 71 C kills bacteria that may be present.
How Do You Heat Treat Flour?
You do not need to heat treat flour for any recipe that will be baked or cooked on a stove top.
For example, if you’re making cake batter and it will be baked at 350 F / 175 C before being eaten, you don’t need to heat treat your flour.
However, you do need to heat treat your flour if you are making a recipe that uses flour and won’t be baked or heated.


Can You Heat Treat Flour in the Microwave?
You sure can! This is my preferred method because it’s the quickest and easiest in my opinion!
However, it works best for smaller amounts of flour, like 1-3 cups.
Pour the flour in a large, heat-proof bowl.
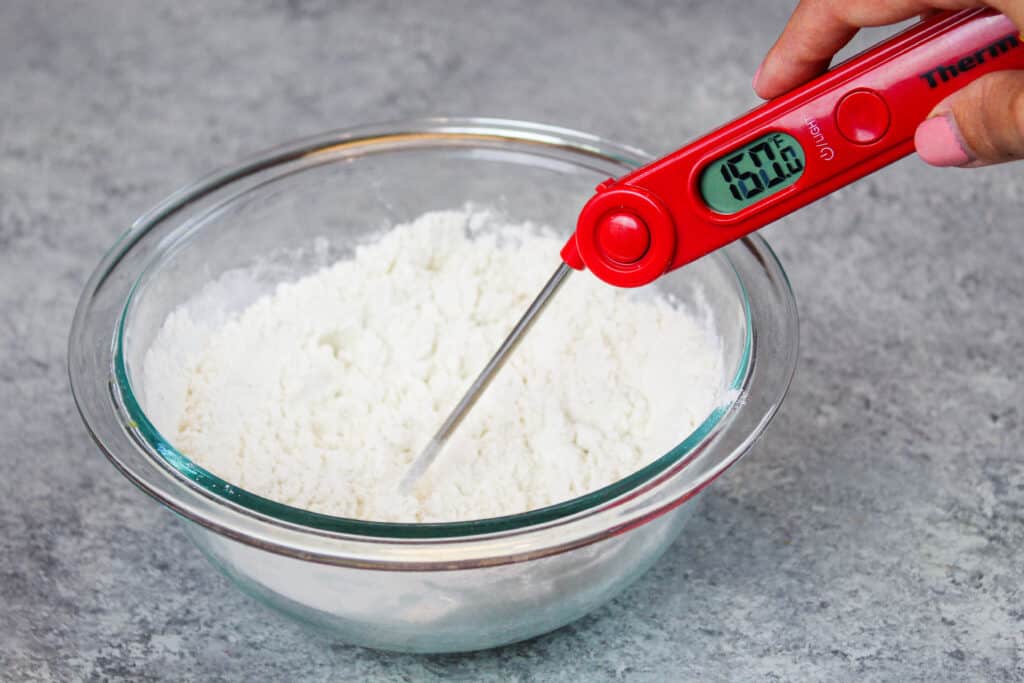
Heat it in 30-second intervals until the temperature of the flour reaches 160 F / 71 C.

Mix the flour around with a spoon between intervals to make sure it heats evenly.
The time it takes to reach this temperature can vary a lot based on the size and age of your microwave.
Mine takes 4 intervals (total of 2 minutes).
Let the flour cool to room temperature (takes about 30 minutes), then use however you like!
Can You Heat Treat Flour in the Oven?
Absolutely! I like to use the oven when I’m heat treating a large amount of flour.
Start by preheating your oven at 300 F / 150 C.
Line a large, rimmed baking sheet with parchment paper.
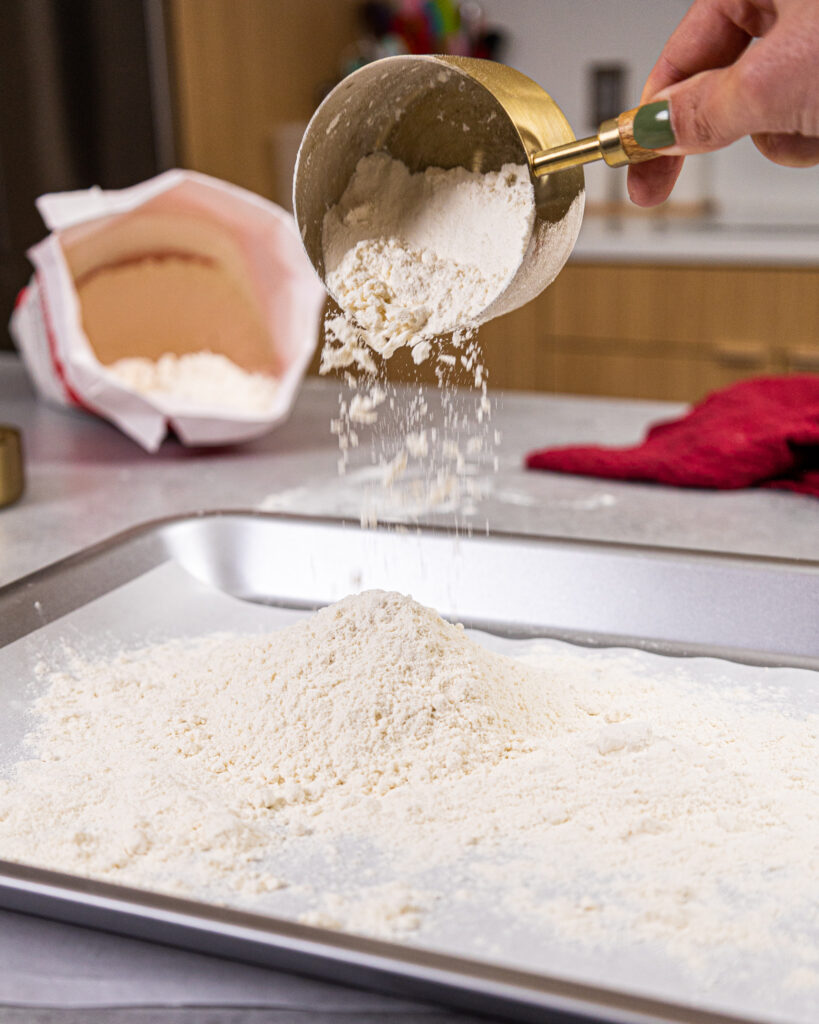
Spread the flour out evenly on the prepared pan.

Bake the flour in 2-minute intervals and pull the pan out of the oven to check its temperature between each interval.
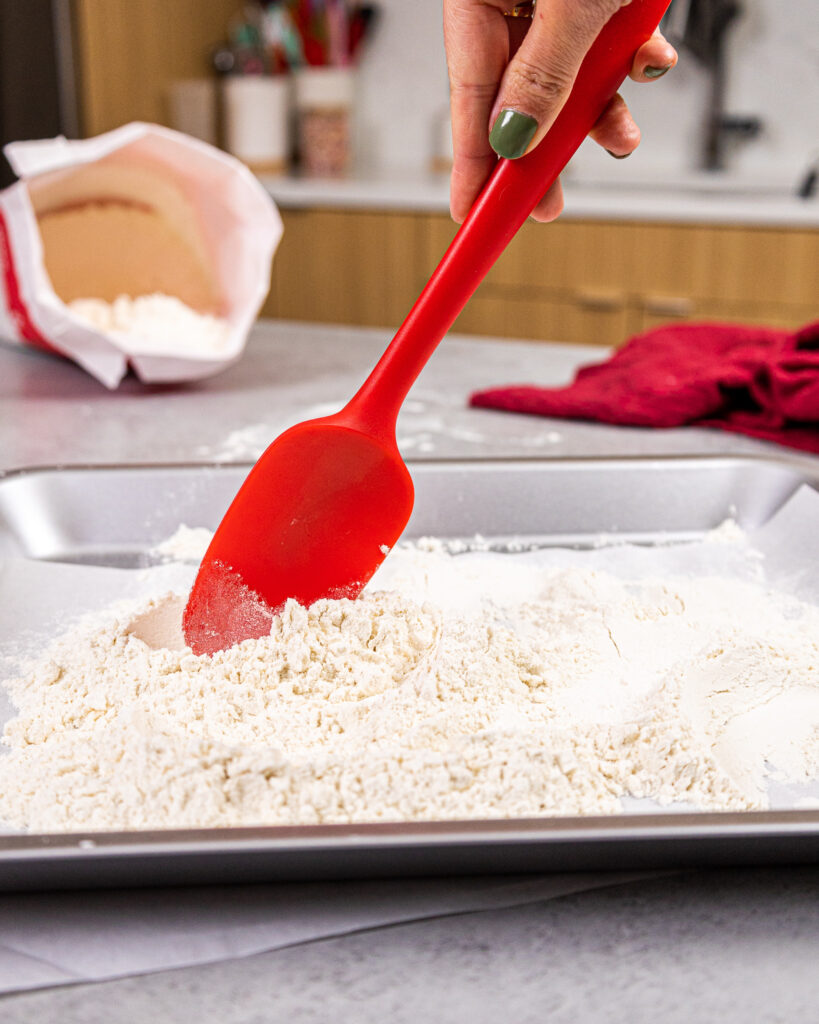
Mix the flour around with a spoon or spatula each time you check the temperature to help it heat evenly.

Check the temperature of the flour in a few different spots to make sure the entire batch is properly heated. Some ovens have hot spots, and this can cause the flour to heat unevenly.
Repeat this process until the temperature of the flour reaches 160 F / 71 C.
When it reaches this stage, carefully lift up the sheet of parchment paper and funnel the flour into a separate bowl to let it cool to room temperature.
This usually takes about 30 minutes.
Can I Heat Treat Flour in an Air Fryer?
Sadly, you can’t heat treat flour in an air fryer.
The air circulation from the fan in air fryers makes it difficult and messy. I do not recommend trying this.
Can I Over-Heat My Flour?
The tell-tale sign of over-heat treated flour is browned or lumpy flour.
If the flour browns a bit, your oven may have hot spots or run hot.
This will give the flour a toasted flavor, but it can still be used. However, if the flour burns, I do not recommend using it.
If you notice your flour has small chunks or clumps, it may mean that your microwave has some hot spots, or your oven might run hot.
Don’t worry, just sift your flour, and discard any big clumps or break them up with your fingers.
Can You Heat Treat Flour in Advance?
You can heat treat your flour ahead of time!
Store in airtight container at room temperature and it will stays good for up to a year.
At this point you can use it in any no-bake recipe that calls for flour.


Tips for Making Heat Treated Flour
- This technique can be used to heat treat anywhere from 1 cup – 6 cups of flour at a time.
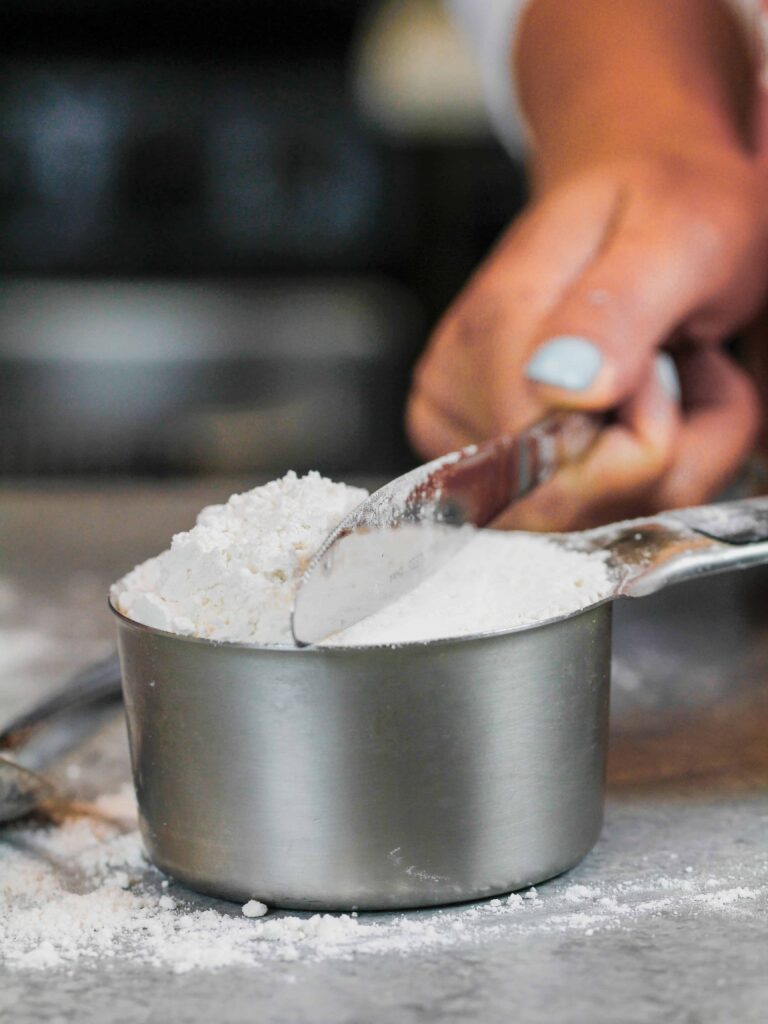
- Make sure you properly measure your flour. Fluff it up, then spoon it into a measuring cup and level it with a knife. Or better yet, use a digital kitchen scale!
- If you’re using an oven, don’t push the flour past the edge of the parchment paper. This can cause it to get stuck to the pan and create lumps of flour that will be hard to mix into your dough or batter.
- Stir the flour each time you check its temperature. This will help it heat evenly and make sure the entire batch of flour reaches the right temperature and is safe.
- Use a food thermometer to check the temperature of your flour. They work best and are the easiest way to make sure your flour reaches the proper temperature. The thermometer I use is $12 on amazon!
- Let the flour cool to room temperature before you use it. If you’re in a rush you can pop the bowl into the fridge to speed up the process.
- If you notice your flour has a chunk or clumps, it may mean that your microwave has some hot spots, or your oven might run hot. Don’t worry, just sift your flour, and discard any big clumps or break them up with your fingers.

Let Me Know What You Think
If you heat treat your flour, I’d love to hear how it goes!
Let me know what method you used and leave a rating and/or comment below.
Heat Treated Flour


Learn how to heat treat flour in the microwave or oven!! This makes it safe to consume raw and is so quick and easy to do!
Ingredients
Heat Treated Flour
- 2 cups all purpose flour, spooned and leveled with a knife (250g)
Recommend Equipment
- Parchment Paper
- Large, Rimmed Baking Sheet
- Oven or Microwave
- Digital Thermometer
Instructions
- MICROWAVE INSTRUCTIONS: Pour the flour in a large, heat-proof bowl. Heat it in 30-second intervals until the temperature of the flour reaches 160 F / 71 C.
- Mix the flour around with a spoon between intervals to make sure it heats evenly. The time it takes to reach this temperature can vary a lot based on the size and age of your microwave. Mine takes 4 intervals (total of 2 minutes). Let the flour cool to room temperature (takes about 30 minutes) then use however you like!
- OVEN INSTRUCTIONS: Preheat your oven at 300 F / 150 C. Line a large, rimmed baking sheet with parchment paper. Spread the flour out evenly on the prepared pan. Bake the flour in 2-minute intervals and pull the pan out of the oven to check its temperature between each interval.
- Mix the flour around with a spoon or rubber spatula each time you check the temperature to help it heat evenly. Check the temperature of the flour in a few different spots to make sure the entire batch is properly heated. Some ovens have hot spots, and this can cause the flour to heat unevenly.
- Repeat this process until the temperature of the flour reaches 160 F / 71 C. When it reaches this stage, carefully lift up the sheet of parchment paper and funnel the flour into a separate bowl to let it cool to room temperature. This usually takes about 30 minutes.
Notes
Heat Treating Flour: Batch Size and Make Ahead Instructions
- This technique can be used to heat treat anywhere from 1 cup - 6 cups of flour at a time.
- This method can be used for bleached or unbleached all-purpose flour.
- Heat treat your flour ahead of time and store in airtight container at room temperature. It stays good for up to a year.
Tips for Properly Heat Treating Flour
- Make sure you properly measure your flour. Fluff it up, then spoon it into a measuring cup and level it with a knife. Or better yet, use a digital kitchen scale!
- If you're using an oven, don't push the flour past the edge of the parchment paper. This can cause it to get stuck to the pan and create lumps of flour that will be hard to mix into your dough or batter.
- Stir the flour each time you check its temperature. This will help it heat evenly and make sure the entire batch of flour reaches the right temperature and is safe.
- Use a food thermometer to check the temperature of your flour. They work best and are the easiest way to make sure your flour reaches the proper temperature. The thermometer I use is $12 on amazon!
- Let the flour cool to room temperature before you use it. If you're in a rush you can pop the bowl into the fridge to speed up the process.
- If you notice your flour has a chunk or clumps, it may mean that your microwave has some hot spots, or your oven might run hot. Don't worry, just sift your flour, and discard any big clumps or break them up with your fingers.
Nutrition Information
Yield
2Serving Size
1Amount Per Serving Calories 455Total Fat 1gSaturated Fat 0gTrans Fat 0gUnsaturated Fat 1gCholesterol 0mgSodium 3mgCarbohydrates 95gFiber 3gSugar 0gProtein 13g
Other Recipes You Might Like:


Is It Safe To Eat Cookie Dough During Pregnancy? – Expecting Mother's Blog
Thursday 6th of October 2022
[…] ice cream flavors. Raw dough is safe to consume because it contains pasteurized eggs and heated flour. Only chocolate chip cookie dough with peanut butter and chocolate chips are available in Vermont […]
Edible Sugar Cookie Dough | No Bake & Made In Only 5 Minutes
Sunday 28th of August 2022
[…] heat-treated flour. Raw flour is not safe to eat, so the most important thing is that you get the flour temperature to 165°F. This sugar cookie dough recipe uses the microwave to do […]
Vegan Peanut Butter Chocolate Chip Cookies - The Fit Peach
Thursday 23rd of June 2022
[…] are using oat flour the cookie dough is safe to eat raw! If you use all purpose flour make sure to heat treat it if you plan to eat the […]