
I’ve always had a deep love for Biscoff cookies (thank you Delta) and it was only a matter of time until I made a Biscoff cake.
This month I finally made it happen and boy am I glad I did!! This is one of my favorite cakes I’ve made.


Staying true to the ingredients used in Biscoff cookies, the main flavors in this cake are dark brown sugar and cinnamon.
How Much Cake Batter Does This Recipe Make?
One batch of this cookie butter cake recipe makes about 10 cups of batter. While I usually make 7- or 8-inch cake layers, you can use this recipe to make lots of different sized cake layers.
This amount of cake batter can be used to make the following sized cake layers:
- Two 10-inch cake layers – baked for 2-3 minutes longer than instructed with a heating core if possible
- Two 9-inch cake layers – baked for 3-5 minutes longer than instructed with heating core if possible
- Three 8-inch cake layers – baked as instructed
- Four 7-inch cake layers – baked as instructed
- Four 6-inch cake layers – baked for 3-5 minutes longer than instructed
- One quarter sheet cake (9 × 13-inch) – baked at 325 F for 40-50 minutes with 2 heating cores if possible to help the cake bake more evenly and quickly.
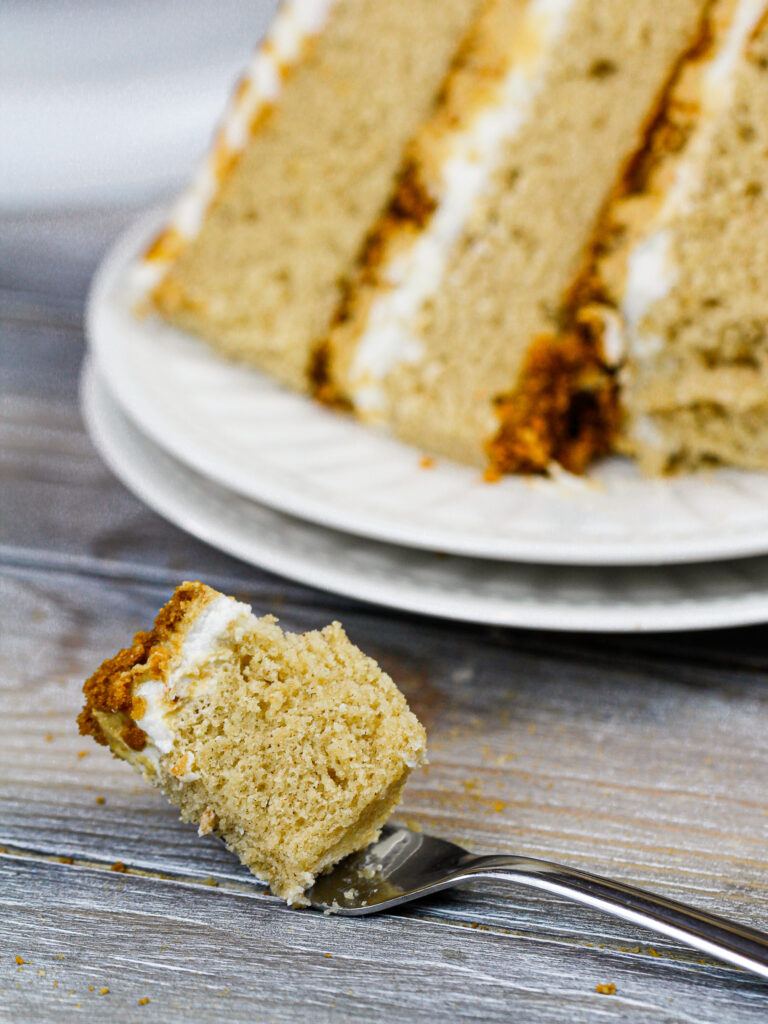
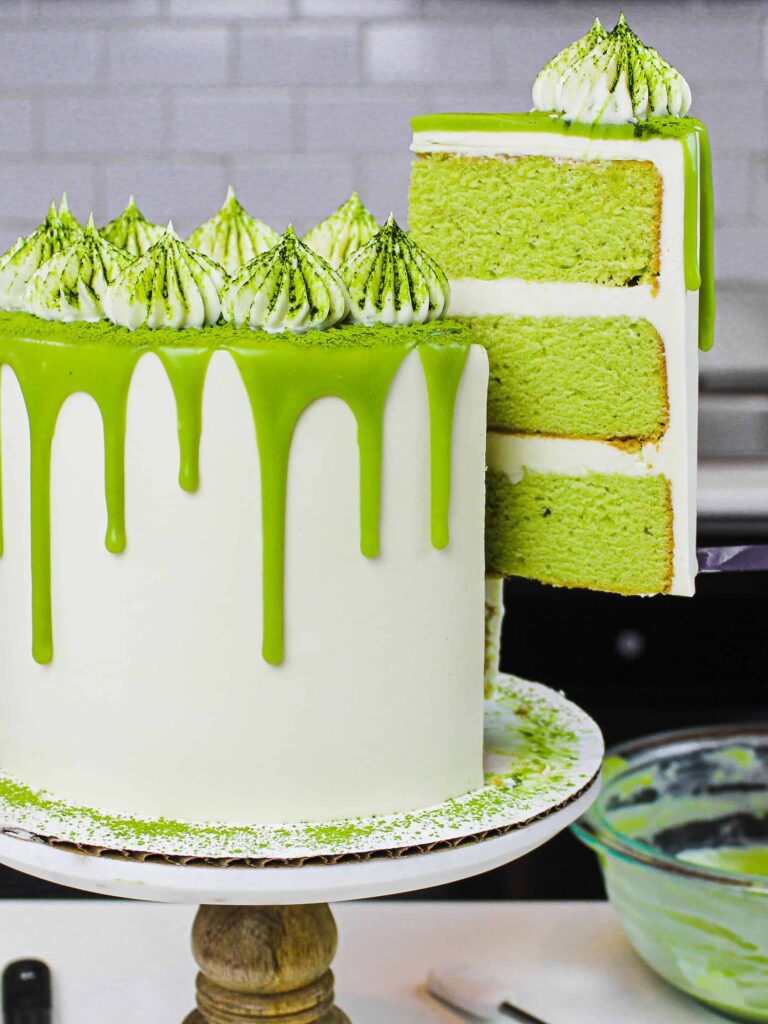
I usually make this cake with three 8-inch cake layers like the video in this post, but below is a photo of a 7-inch layer cake I made with this recipe a while back.

Packing This Cookie Butter Cake with Biscoff Flavor
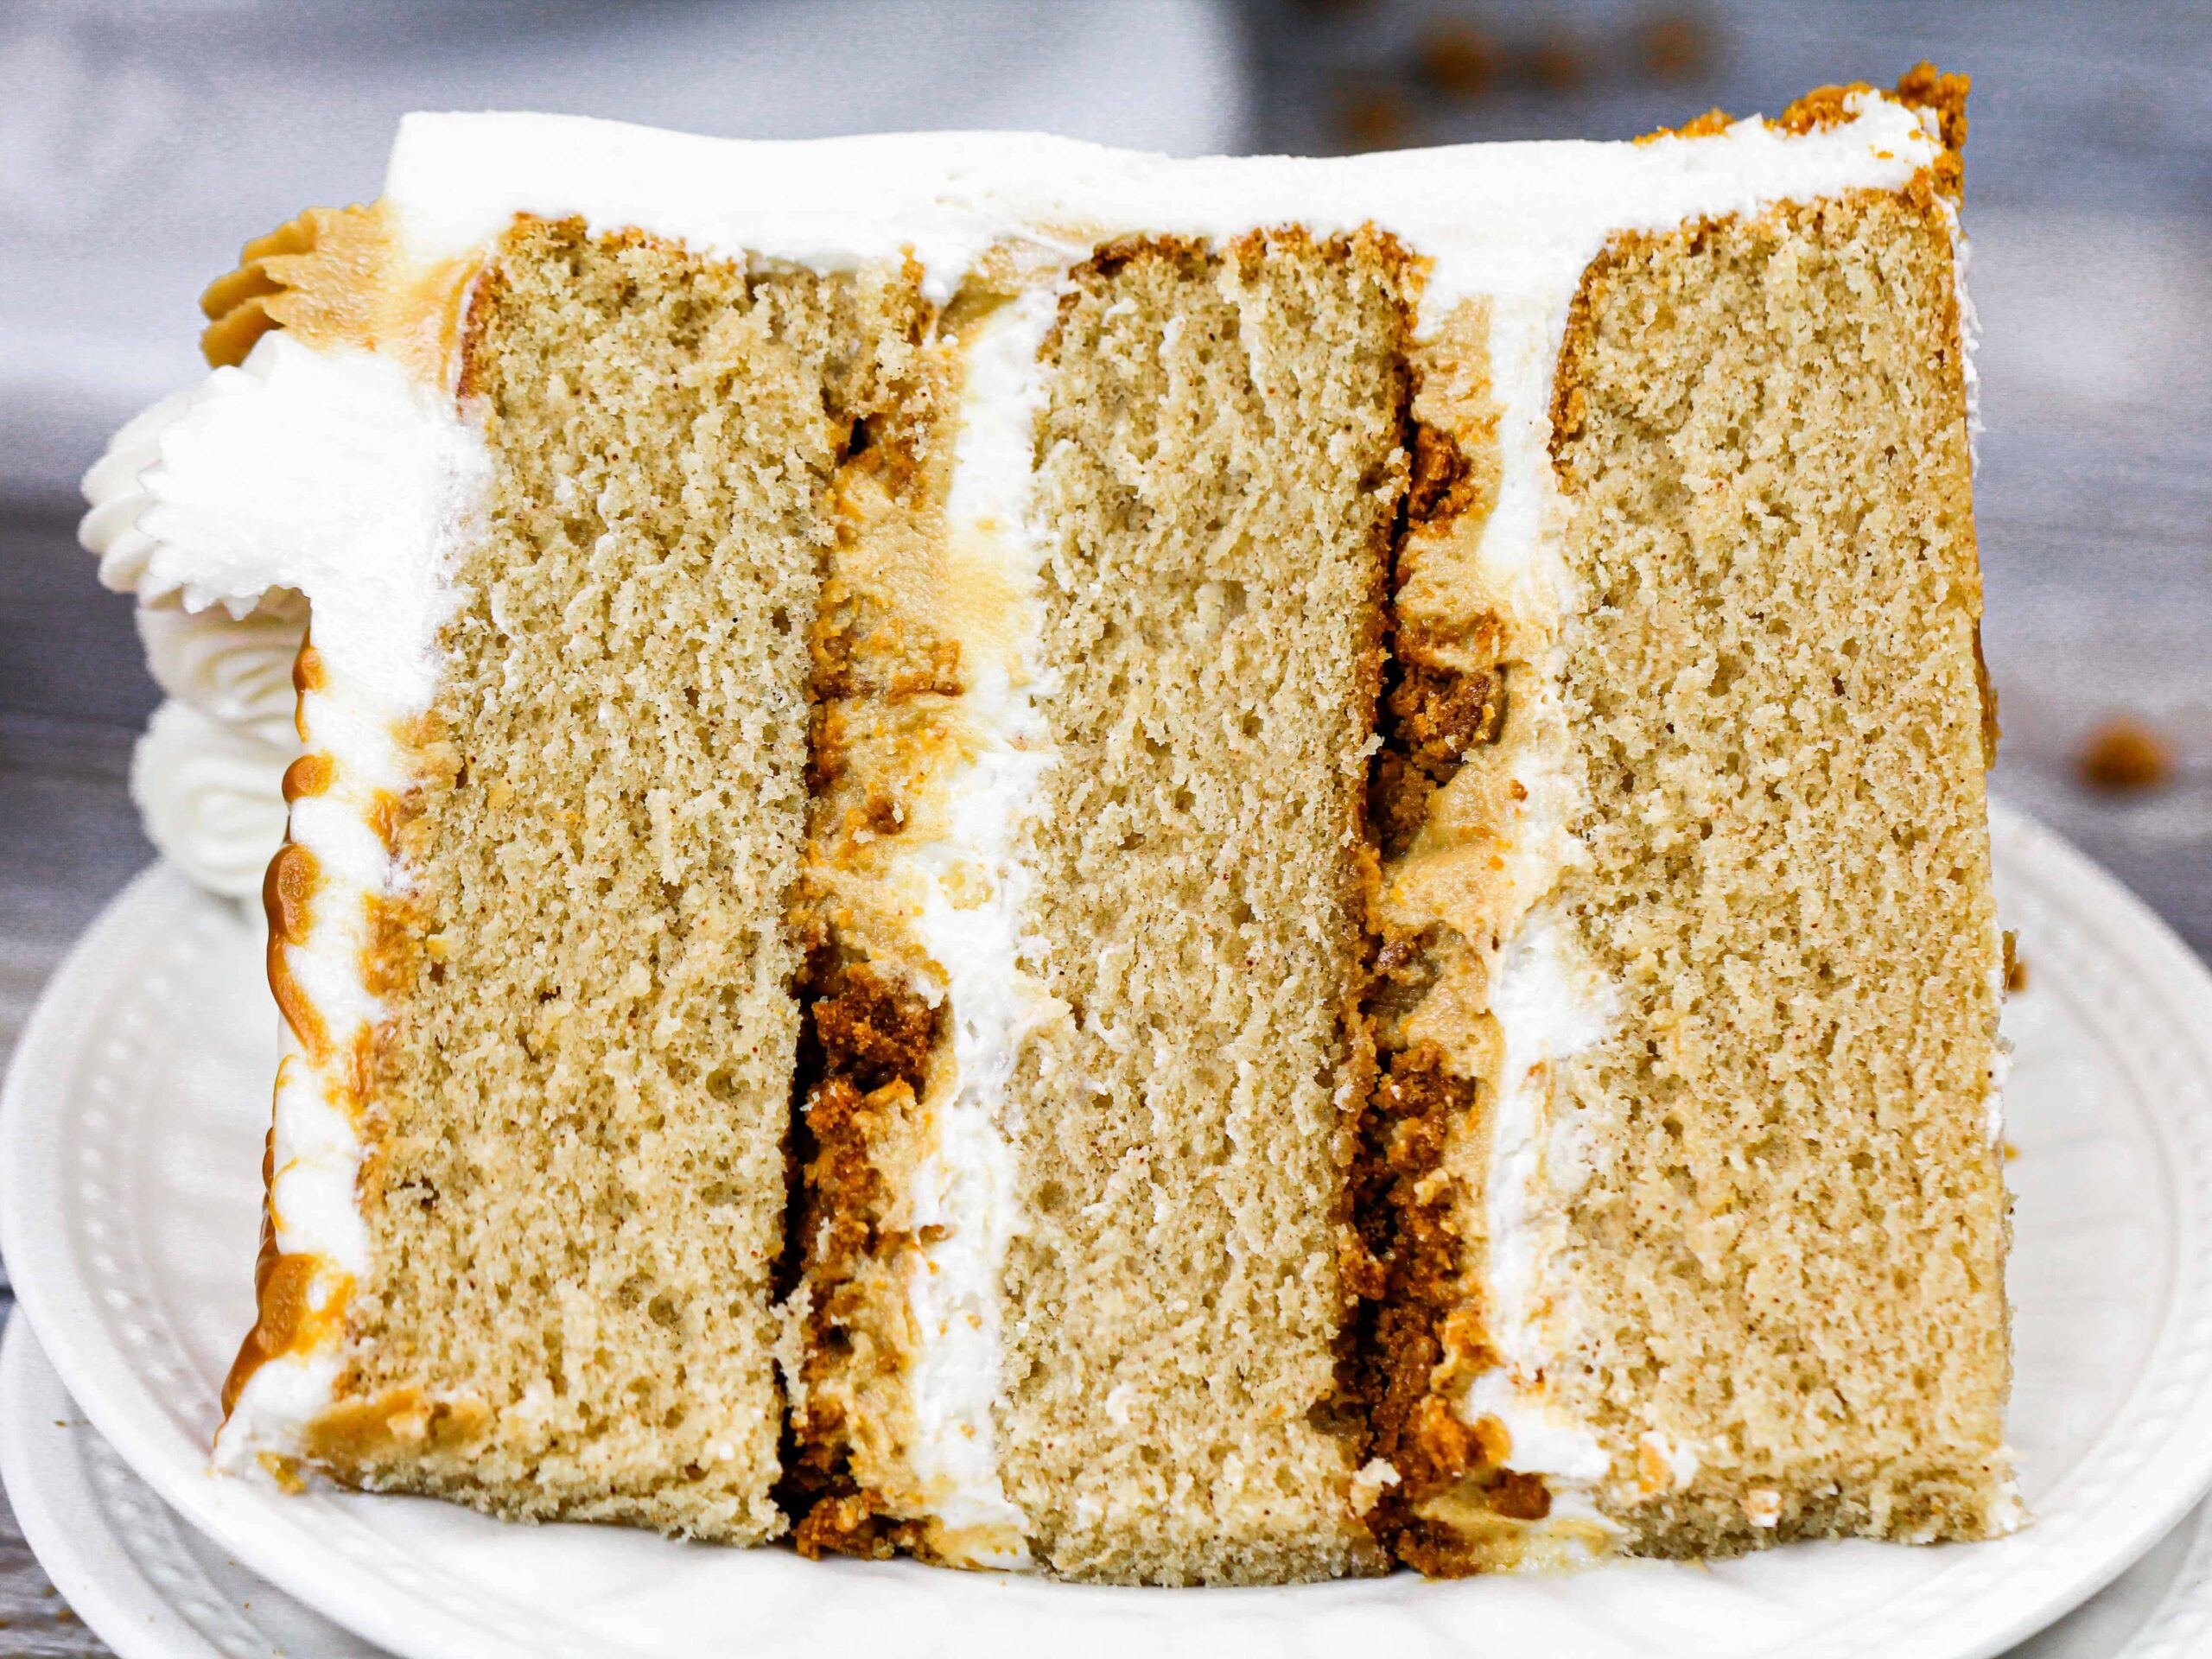
When I say packed that this cake is packed with Biscoff flavor, I mean it!
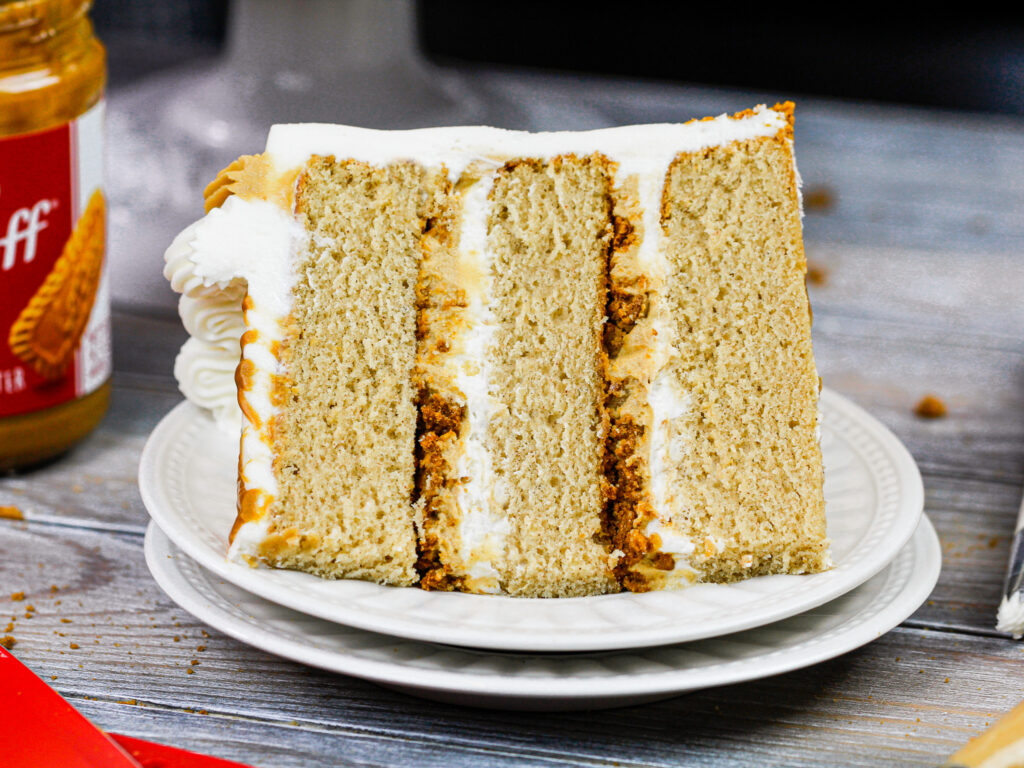
These cake layers are made with dark brown sugar and ground cinnamon which make them incredibly tender and delicious.


But I didn’t stop there. I also fill the cake with a cookie butter frosting.
The best part about it is that the frosting is literally 2/3 frosting, 1/3 cookie butter. It’s decadent, creamy, and absolutely delicious!!

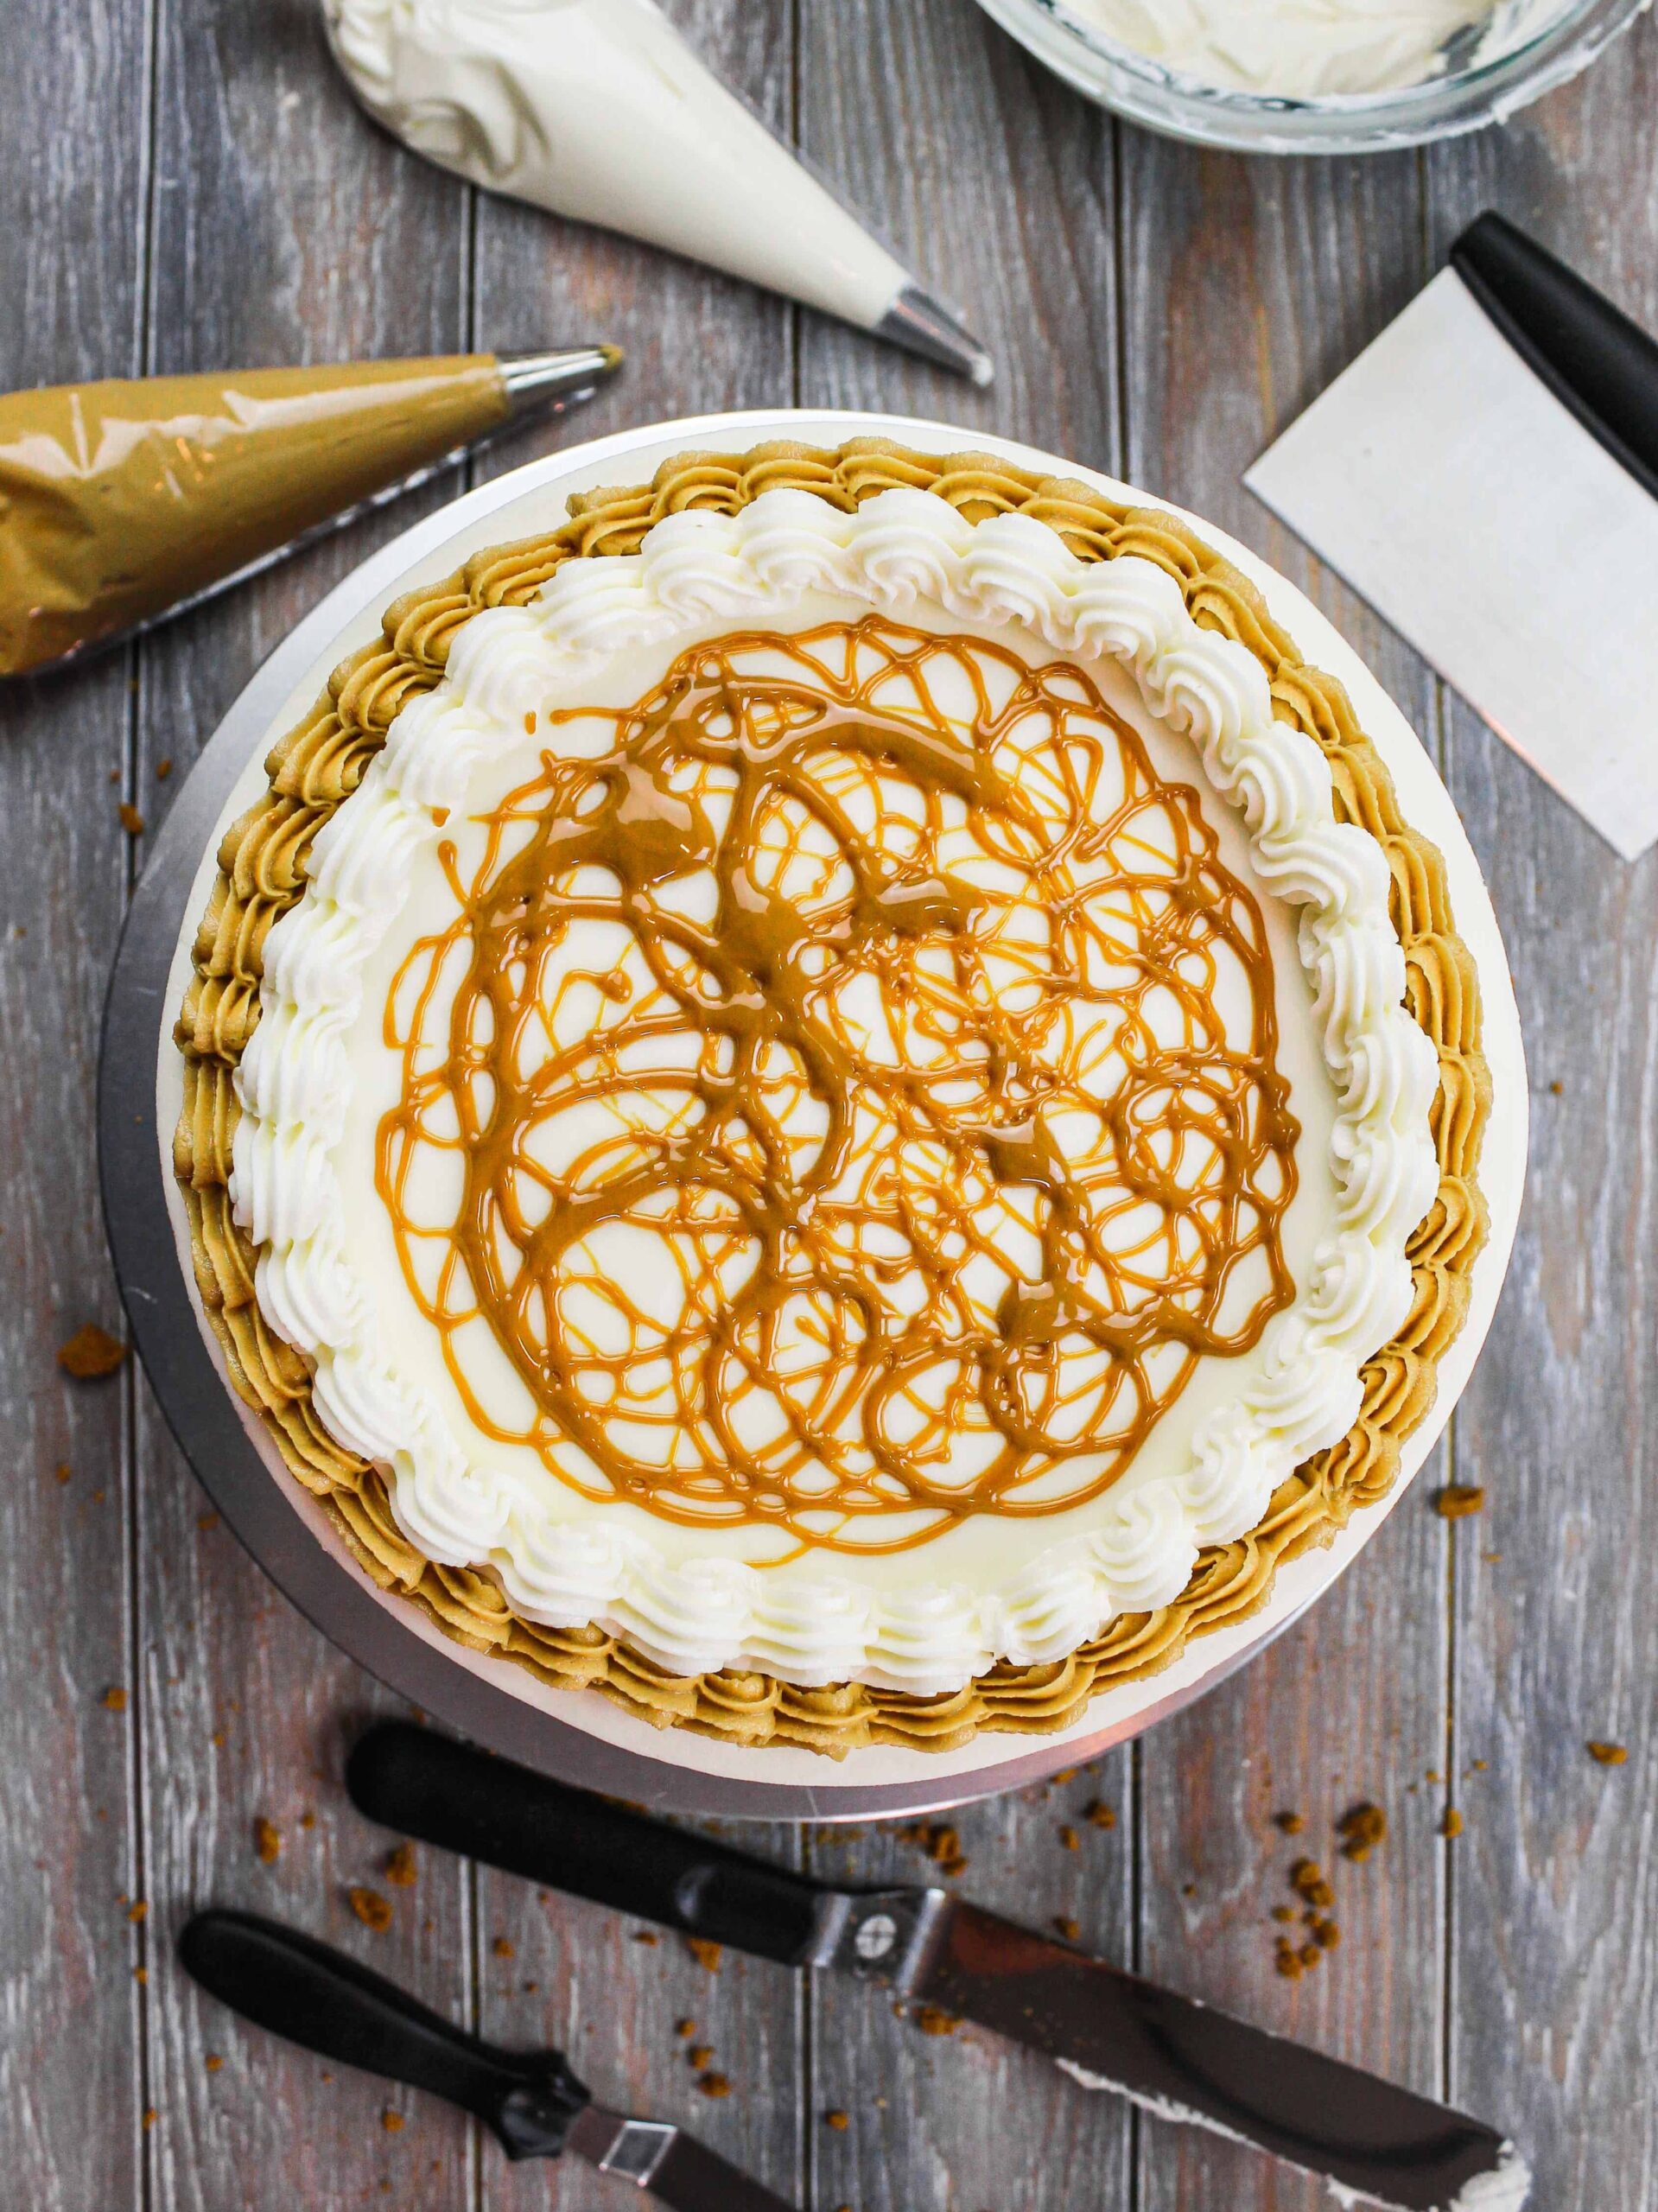
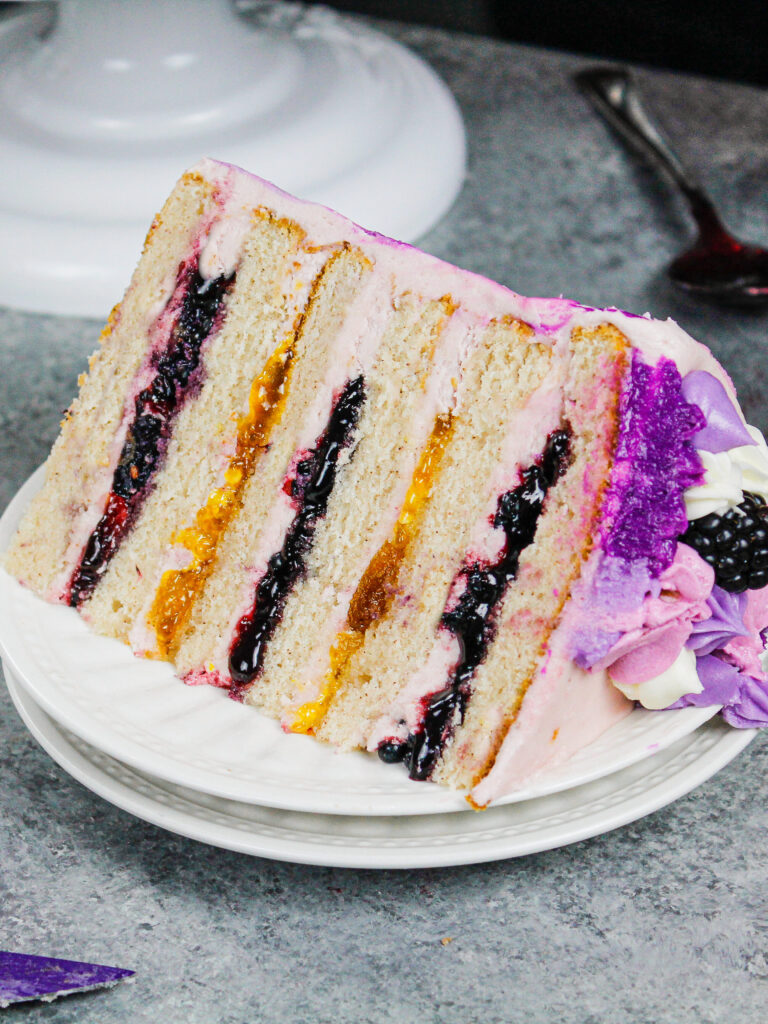
The finishing touch is a cookie butter drizzle between each cake layer. It really adds an extra pop of flavor to each bite!!
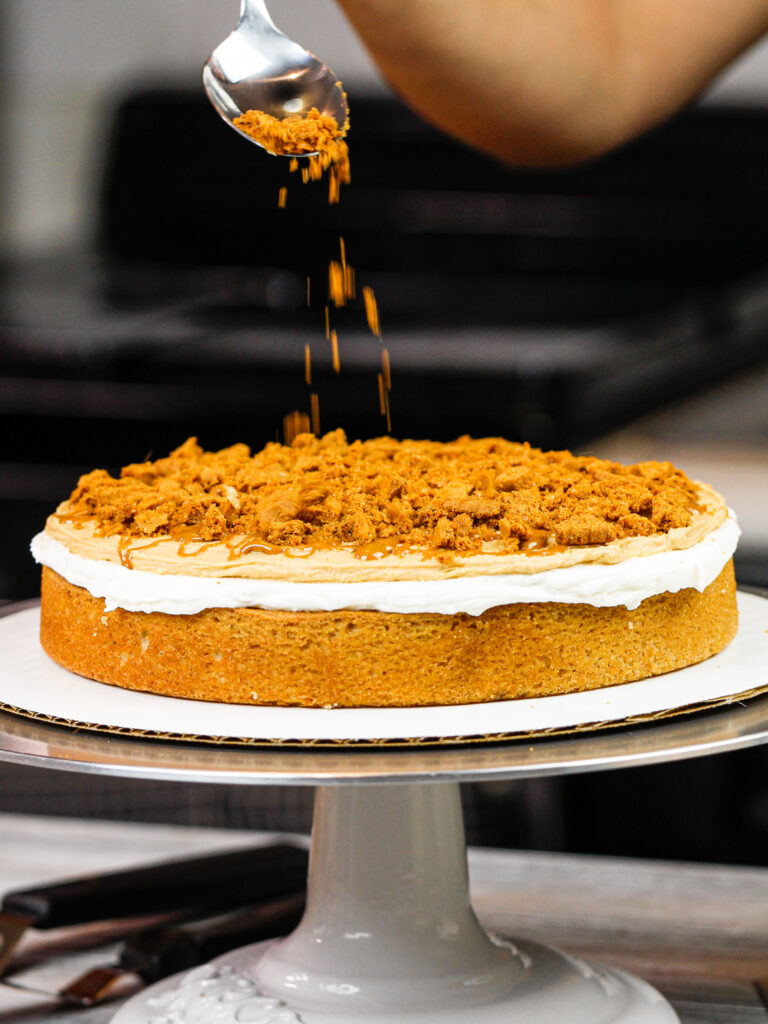
You can also sprinkle some crushed Biscoff cookies between the layers for texture.

Substitutions and Swaps – Biscoff Cake Layers
This cake recipe use quite a few ingredients and I know you might not have them all on hand. Or if you have food allergies or restrictions, I’ve got you covered.
Below are some swaps and substitutions that can be made in this recipe.
- All-Purpose Flour – This recipe turns out best with AP flour, but you can use a gluten free flour blend if needed.
- Brown Sugar – You can use light or dark brown sugar, but I think dark brown sugar in this recipe tastes best!
- Egg Whites – I use egg whites out of a carton to make life easier, but you can also use 4 large eggs in place of the egg whites. If you have an egg allergy you can use 4 flaxseed eggs or 1 cup of unsweetened applesauce + 1 extra Tbsp baking powder
- Unsalted Butter – If you only have salted butter on hand, you can use it in place of the unsalted butter. Just be sure to omit the salt the recipe calls for. You can also use vegan butter in its place!
- Buttermilk – You can also use full fat yogurt, sour cream, whole milk, or an alternative yogurt or milk (almond, soy, oat) if you’re dairy free.

Substitutions and Swaps – Cookie Butter Frosting
- Unsalted Butter – If you only have salted butter on hand, you can use it in place of the unsalted butter. You can also use vegan butter in its place!
- Heavy Cream – Whole milk or alternative milk (soy, almond, oat) will work fine in this frosting recipe if that’s what you have on hand.
- Cookie Butter – There are tons of brands of cookie butter out there and any of them will work in this recipe!
Making This Biscoff Cake in Advance and Storage Tips
Make your cake layers in advance and freeze them. It breaks the process up and makes it more approachable.
Make your frosting ahead of time too or save any leftover frosting! It can be stored in an airtight container in the fridge for up to a month, or in the freezer for up to 3 months. Be sure to give it a good stir once it thaws to get the consistency nice and smooth again.
A frosted cake can last in the fridge for up to a week or in the freezer for up to a month. The ganache locks in all the moisture, keeping the cake fresh and delicious!
If you cut into the cake and have leftovers, use any remaining frosting to cover the cut section to keep it moist and store in the fridge for up to a week.

Tips for Making the Best Biscoff Layer Cake
- Properly measure your flour. Either spoon it into the cup measure, then level with a knife or use a kitchen scale.
- Make sure your ingredients are at room temperature to help them mix together better.
- Don’t level your cake layers until they are completely cooled.
- Add chopped up bits of Biscoff cookies between the layers for some texture!
- Heat your cookie butter in the microwave for 20 seconds to make it easier to drizzle.
- Make this cookie butter cake vegan or dairy free! Use your favorite type of dairy free milk to replace the buttermilk and heavy cream, vegan butter sticks in place of the butter and flax seed eggs.
- Use this recipe if you want to make Biscoff cookie butter cupcakes!

Let Me Know What You Think
If you try this biscoff cake recipe, please tag me @chelsweets and use #chelsweets so that I can see your amazing creations!
And don’t forget to leave a rating and comment below.

Other Recipes You Might Like:


Biscoff Cake


This biscoff cookie butter cake is inspired by the iconic Biscoff cookie and is packed with delicious brown sugar and cinnamon flavor.
Ingredients
Biscoff Cake Layers
- 3 cups all-purpose flour (375g)
- 1 cup granulated sugar (200g)
- 2 cups dark brown sugar (400g)
- 2 1/2 tsp baking powder (10g)
- 2 tsp ground cinnamon (5g)
- 1 tsp fine salt (6g)
- 1 cup unsalted butter, room temperature (226g)
- 1 cup pasteurized egg whites from a carton or 7 large egg whites, room temperature (235g)
- 1 1/2 cups buttermilk, room temperature (360g)
- 2 Tbsp vegetable oil (28g)
- 2 tsp vanilla extract (8g)
Vanilla Buttercream Frosting
- 3 cups unsalted butter, room temperature (678g)
- 1 Tbsp vanilla extract (12g)
- 1 tsp fine salt (6g)
- 11 cups powdered sugar (1375g)
- 1/3 cup heavy cream or whipping cream (80g)
Cookie Butter Buttercream Frosting Add-Ins
- 1 cup cookie butter (390g)
- 1/4 cup heavy cream (560g)
Additional Decorations and Filling:
- 12 Biscoff cookies, cut into small pieces
- 1 cup cookie butter (390g)
- French piping tip
Instructions
Biscoff Cake Layers:
- Preheat oven to 350°F/175°C. Line four 7- or three 8-inch pans with parchment rounds and grease with non-stick baking spray or homemade pan release.
- Mix together 3 cups all-purpose flour, 1 cup granulated sugar, 2 cups brown sugar, 2 1/2 tsp baking powder, 2 tsp cinnamon and 1 tsp salt with a stand mixer (with paddle or whisk attachment) or hand mixer until fully combined.
- Mix 1 cup of unsalted butter into the dry ingredients on a low speed. Continue to mix until no large chunks of butter remain, and the mixture looks crumbly.
- Pour in 1 cup of egg whites and mix on low until incorporated.
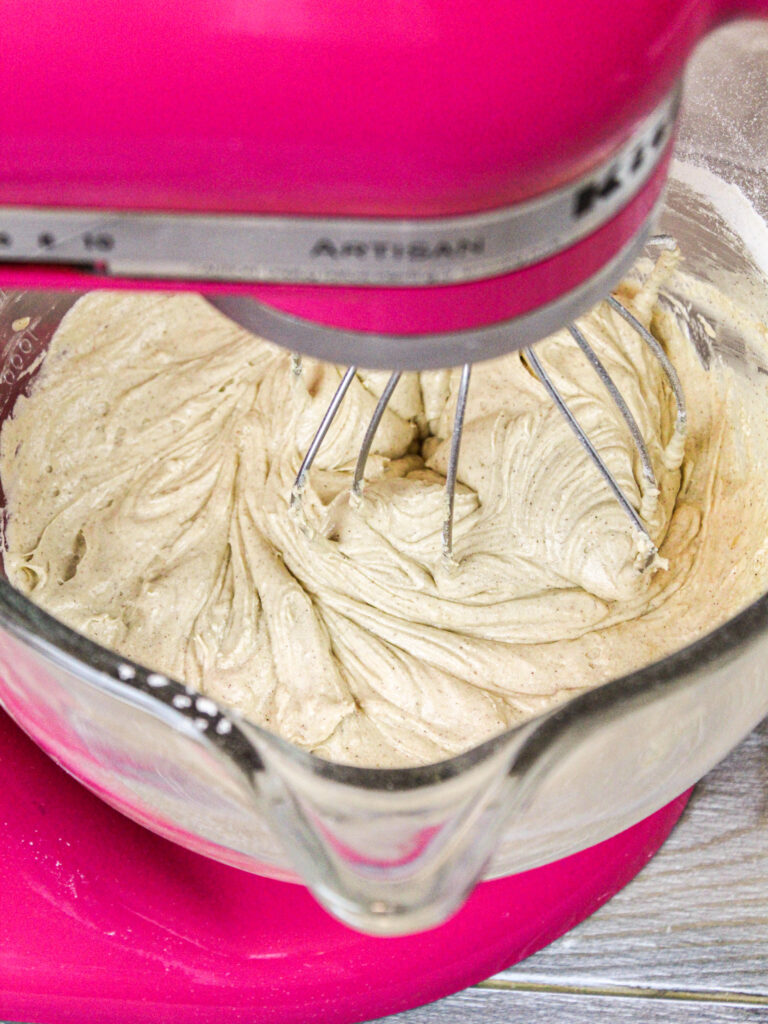
- Next, mix in 1 1/2 cups buttermilk, 2 Tbsp of vegetable oil, and 2 tsp of vanilla extract and mix on a low speed until fully incorporated. Scrape down the sides of the bowl with a rubber spatula, then beat on a medium speed for 30 seconds to make sure everything is properly mixed together.
- Divide the batter evenly between the prepared pans. I like to use a digital scale to make sure each pan has the same amount of batter, so that each cake layer is the same height.
- Bake for 33-35 minutes or until a toothpick comes out with a few moist crumbs. Rotate the pans halfway through to help them bake evenly.
- Allow the pans to cool for 10 minutes, then run a small offset spatula around perimeter of the pan to separate the cake from the pan.
- Place cake layers into the freezer for 30 minutes to accelerate the cooling process. Once the layers are cooled, carefully flip the pans and remove the layers.
- Use a serrated knife to level the tops right before you plan to assemble your cake, or you can wrap and freeze them in you're making them in advance.
- If you make these cake layers in advance and freeze them, let them thaw for about 20 minutes before making your cake. The cake layers should still be slightly cold to the touch, which will make it easier to assemble your cake.
Vanilla Buttercream Frosting:
- While the cake layers bake and cool make the buttercream frosting.
- Beat 3 cups of unsalted butter on a medium speed for 30 seconds with a paddle attachment, until smooth.
- Mix in 1 Tbsp of vanilla extract and 1 tsp salt on a low speed.
- Slowly add in 11 cups of powdered sugar, 1 cup at a time. Add 1/3 cup of cream halfway through to make the frosting easier to mix.
- Continue to mix on low speed for a few minutes, until the desired consistency is reached.
- If the frosting seems too thick, add in additional cream (1 Tbsp at a time). If the frosting is too thin, add in more powdered sugar (quarter of a cup at a time).
- Scoop 2 cups of the vanilla frosting into a separate bowl to make the cookie butter frosting.
- Cover the remaining vanilla frosting with plastic wrap to prevent it from crusting, then set aside.
Cookie Butter Frosting:
- Mix 1 cup of cookie butter and 1/4 cup heavy cream into the separate bowl with 2 cups of vanilla frosting. Stir with a rubber spatula until the cookie butter is fully incorporated.
- Cover with plastic wrap and set aside.
Assembling This Biscoff Cake:
- Build this cake on a greaseproof cake board or flat plate. Use a dab of frosting to help stick the first cake layer to the board.
- Add an even layer of vanilla frosting on top of the cake layer then chill the cake in the freezer for 5 minutes.
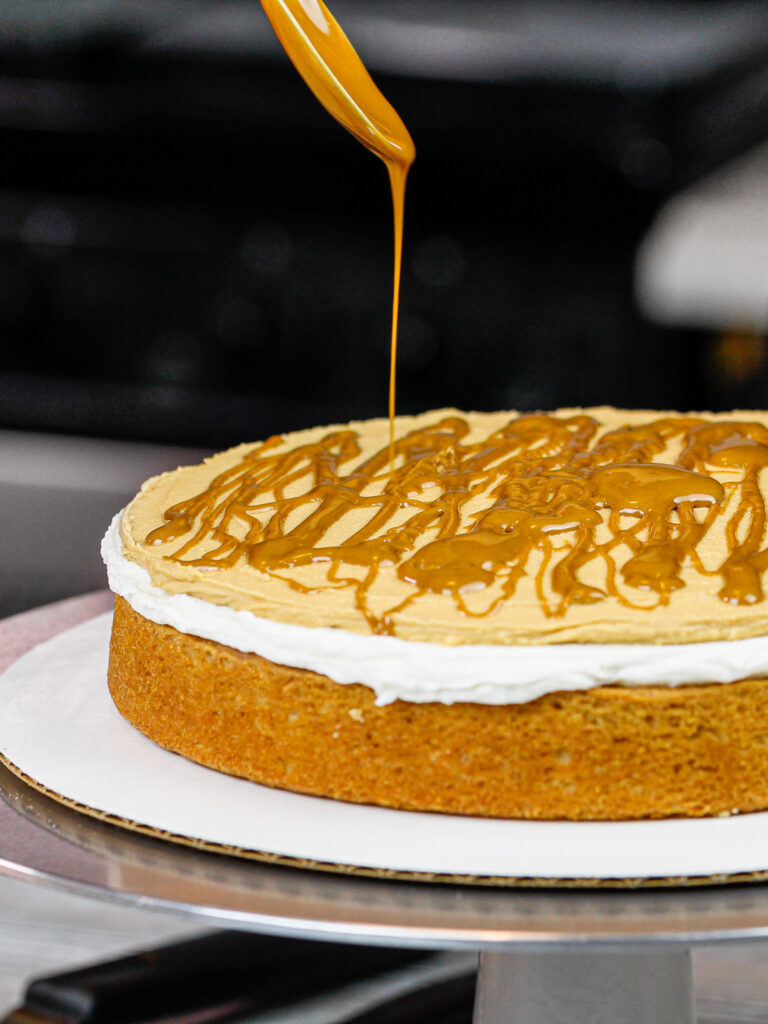
- Spread a second layer of cookie butter frosting on top of the vanilla frosting. Drizzle 1/4 cup of warm cookie butter on top of the cookie butter frosting. Repeat with remaining layers until all are stacked.
- Spread a thin coat of frosting around the cake to fully cover the cake layers to help lock in any crumbs.
- Smooth using a bench scraper, then chill the cake in the fridge (20 minutes) or freezer (5 minutes) until the frosting is firm to the touch.
- Add a second, thicker layer of vanilla frosting around the cake and smooth using a bench scraper.
- Carefully press the chopped up Biscoff cookies around the cake. Press larger chunks of cookies around the base and smaller bits higher up to create a cookie gradient.
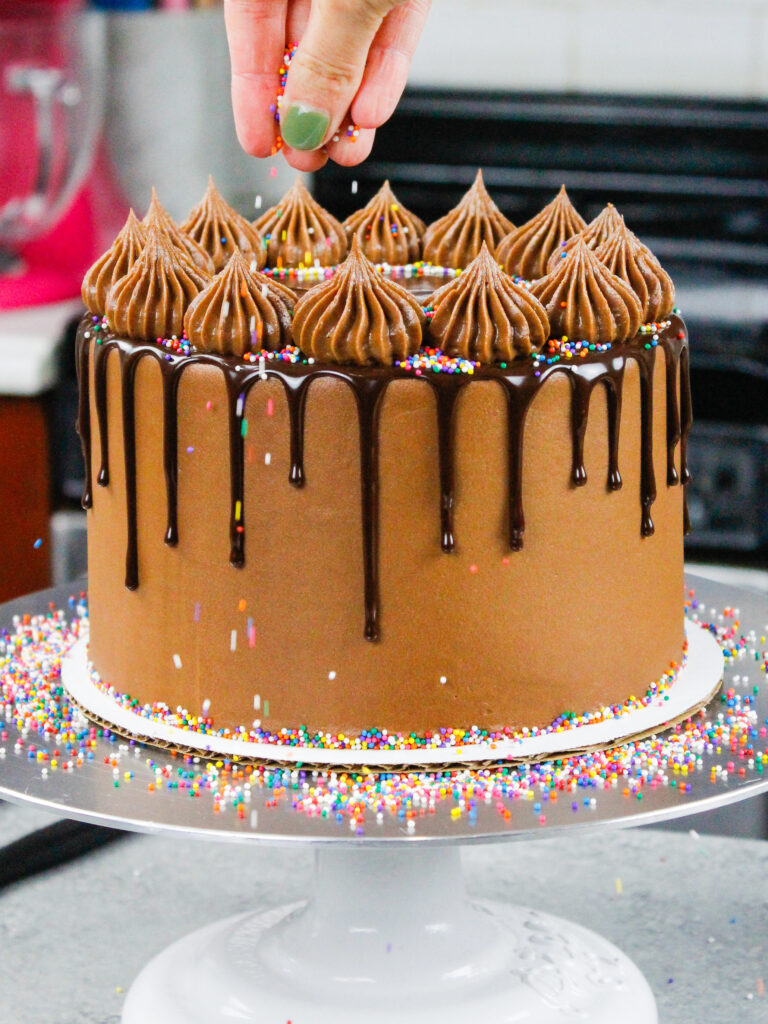
- Pipe a border around the top of the cake with the remaining frosting using a French piping tip.
- Top with a final drizzle of warm cookie butter and enjoy!
Notes
My Tips for Making the Best Biscoff Cake
- Ingredients at room temp mix together better! Set out any cold ingredients ahead of time.
- Properly measure your flour (spoon into the cup measure, then level). Or better yet, use a kitchen scale to measure your dry ingredients.
- Use a kitchen scale to weigh your cake pans as you fill them. It helps the cake layers bake to the same height and bake more evenly.
- Bang your cake pans on the counter before putting them in the oven. This brings any air bubbles that are trapped in the batter to the surface.
- Level your room temperature or thawed cake layers with a serrated knife to make them easier to stack.
- Chill the cake layers in the freezer for about 20 minutes before assembling the cake. It makes them so much easier to frost.
- Add chopped up bits of Biscoff cookies between the layers for some texture!
- Heat your cookie butter in the microwave for 20 seconds to make it easier to drizzle.
- Make this cookie butter cake vegan or dairy free! Use your favorite type of dairy free milk to replace the buttermilk and heavy cream, vegan butter sticks in place of the butter and flax seed eggs.
Making This Biscoff Cake in Advance & Storage Tips
Make your cake layers in advance and freeze them. It breaks the process up and makes it more approachable.
Make your frosting ahead of time too or save any leftover frosting! It can be stored in an airtight container in the fridge for up to a month, or in the freezer for up to 3 months. Be sure to give it a good stir once it thaws to get the consistency nice and smooth again.
A frosted cake can last in the fridge for up to a week, or in the freezer for up to a month. The buttercream locks in all the moisture, keeping the cake fresh and delicious!
If you freeze the cake, transfer it to the fridge the night before you plan to eat it. This will help it gradually thaw and minimize any temperature shock. Remove the cake from the fridge about 30 minutes before you plan to cut into it.
If you cut into the cake and have leftovers, use any remaining frosting to cover the cut section to keep it moist and store in the fridge for up to a week.
Nutrition Information
Yield
24Serving Size
1Amount Per Serving Calories 808Total Fat 44gSaturated Fat 22gTrans Fat 0gUnsaturated Fat 20gCholesterol 91mgSodium 382mgCarbohydrates 100gFiber 1gSugar 79gProtein 6g
Biscoff Cupcakes Filled with Cookie Butter - Chelsweets
Wednesday 29th of June 2022
[…] remade my cookie butter cake last week and had some leftover Biscoff cookies and cookie butter. I figured, why not make some […]
Melissa
Thursday 28th of April 2022
How much batter would I need if I was doing a half sheet cake? Thank you!!
Biscoff Overnight Oats with Brown Sugar & Cinnamon - Chelsweets
Sunday 24th of April 2022
[…] about every flavor I can image. I had leftover Biscoff cookies and cookie butter after making a Biscoff cake and cookie butter cupcakes, so I thought “why not make Biscoff overnight […]
Layered Spice Cake with Cinnamon Cream Cheese Frosting - Chelsweets
Sunday 24th of April 2022
[…] Cider Cupcakes Pumpkin Macarons Apple Butter Cookie Butter Cake Yield: […]
Siobhan
Friday 28th of January 2022
I am going to make this cake this week, but I only have 2 x 7" pans, will the batter be fine to sit while I cook the first two cakes?