
I really struggled with what to call these little guys. They’re made with layers, and coated in buttercream frosting, so they’re cakes, right?? But then again…their “layers” are actually CUPCAKES! So are they monster cupcakes, or monster cakes??
To be totally honest, they’re more work than simply piping frosting onto a cupcake. In fact, they even have a crumb coat! That makes them seem like cakes to me. Little gremlin cakes 🙂
Sometimes I feel burnt out after a day of baking, other times I feel like I could spend an entire day in the kitchen and still want more!
Luckily when I made these, it was the latter. I wished I had made a second dozen cupcakes so I could keep playing around, trying different frosting tips, and make silly facial expressions.
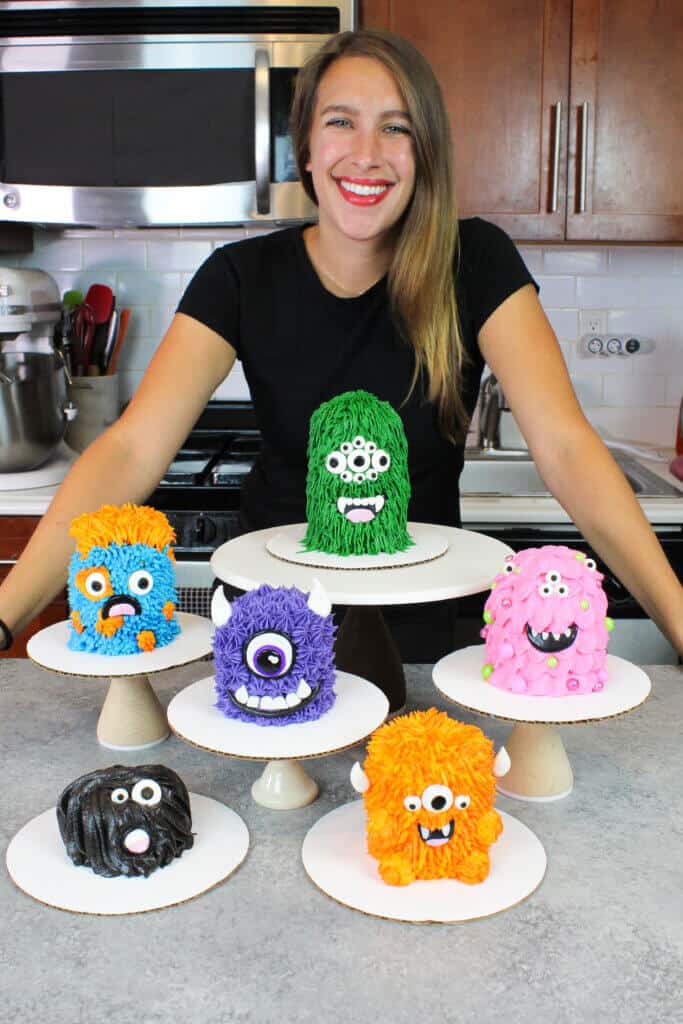
It’s safe to say these are a ton of fun to make. They’d also be a blast to make with kids, or with your friends.
The Monster Innards
As we just covered, these baby cakes are made with cupcakes. It sounds crazy, but it’s actually awesome, I promise! I used my one-bowl vanilla cupcake recipe to make one dozen cupcakes.
This is enough cupcakes to make 6 mini cakes, if you stack them two cupcakes tall. However, you can get creative with this part too.
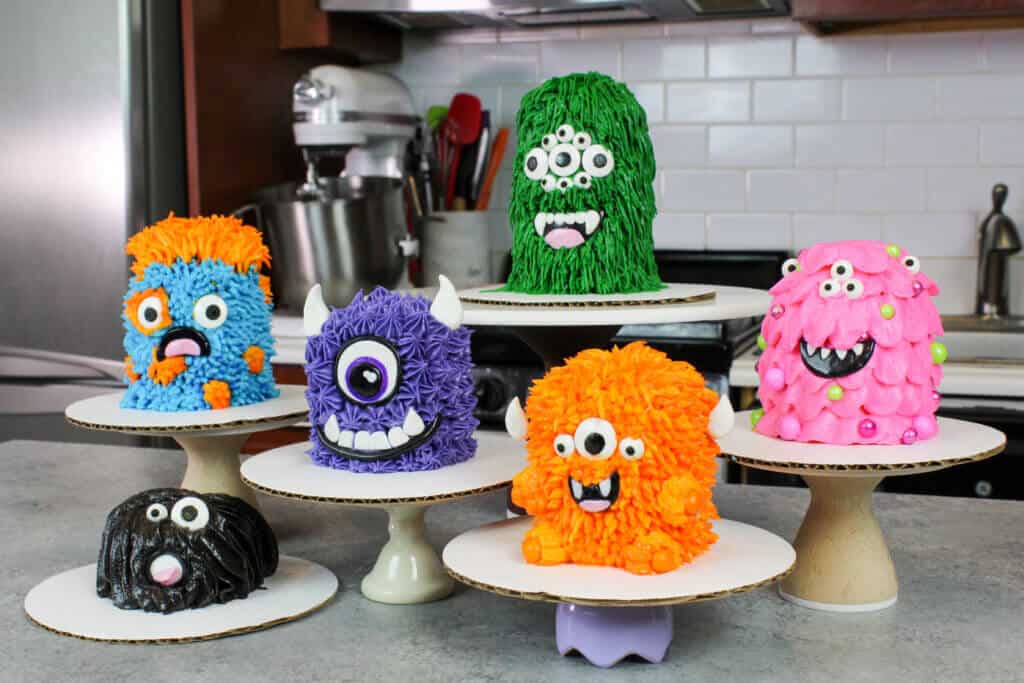
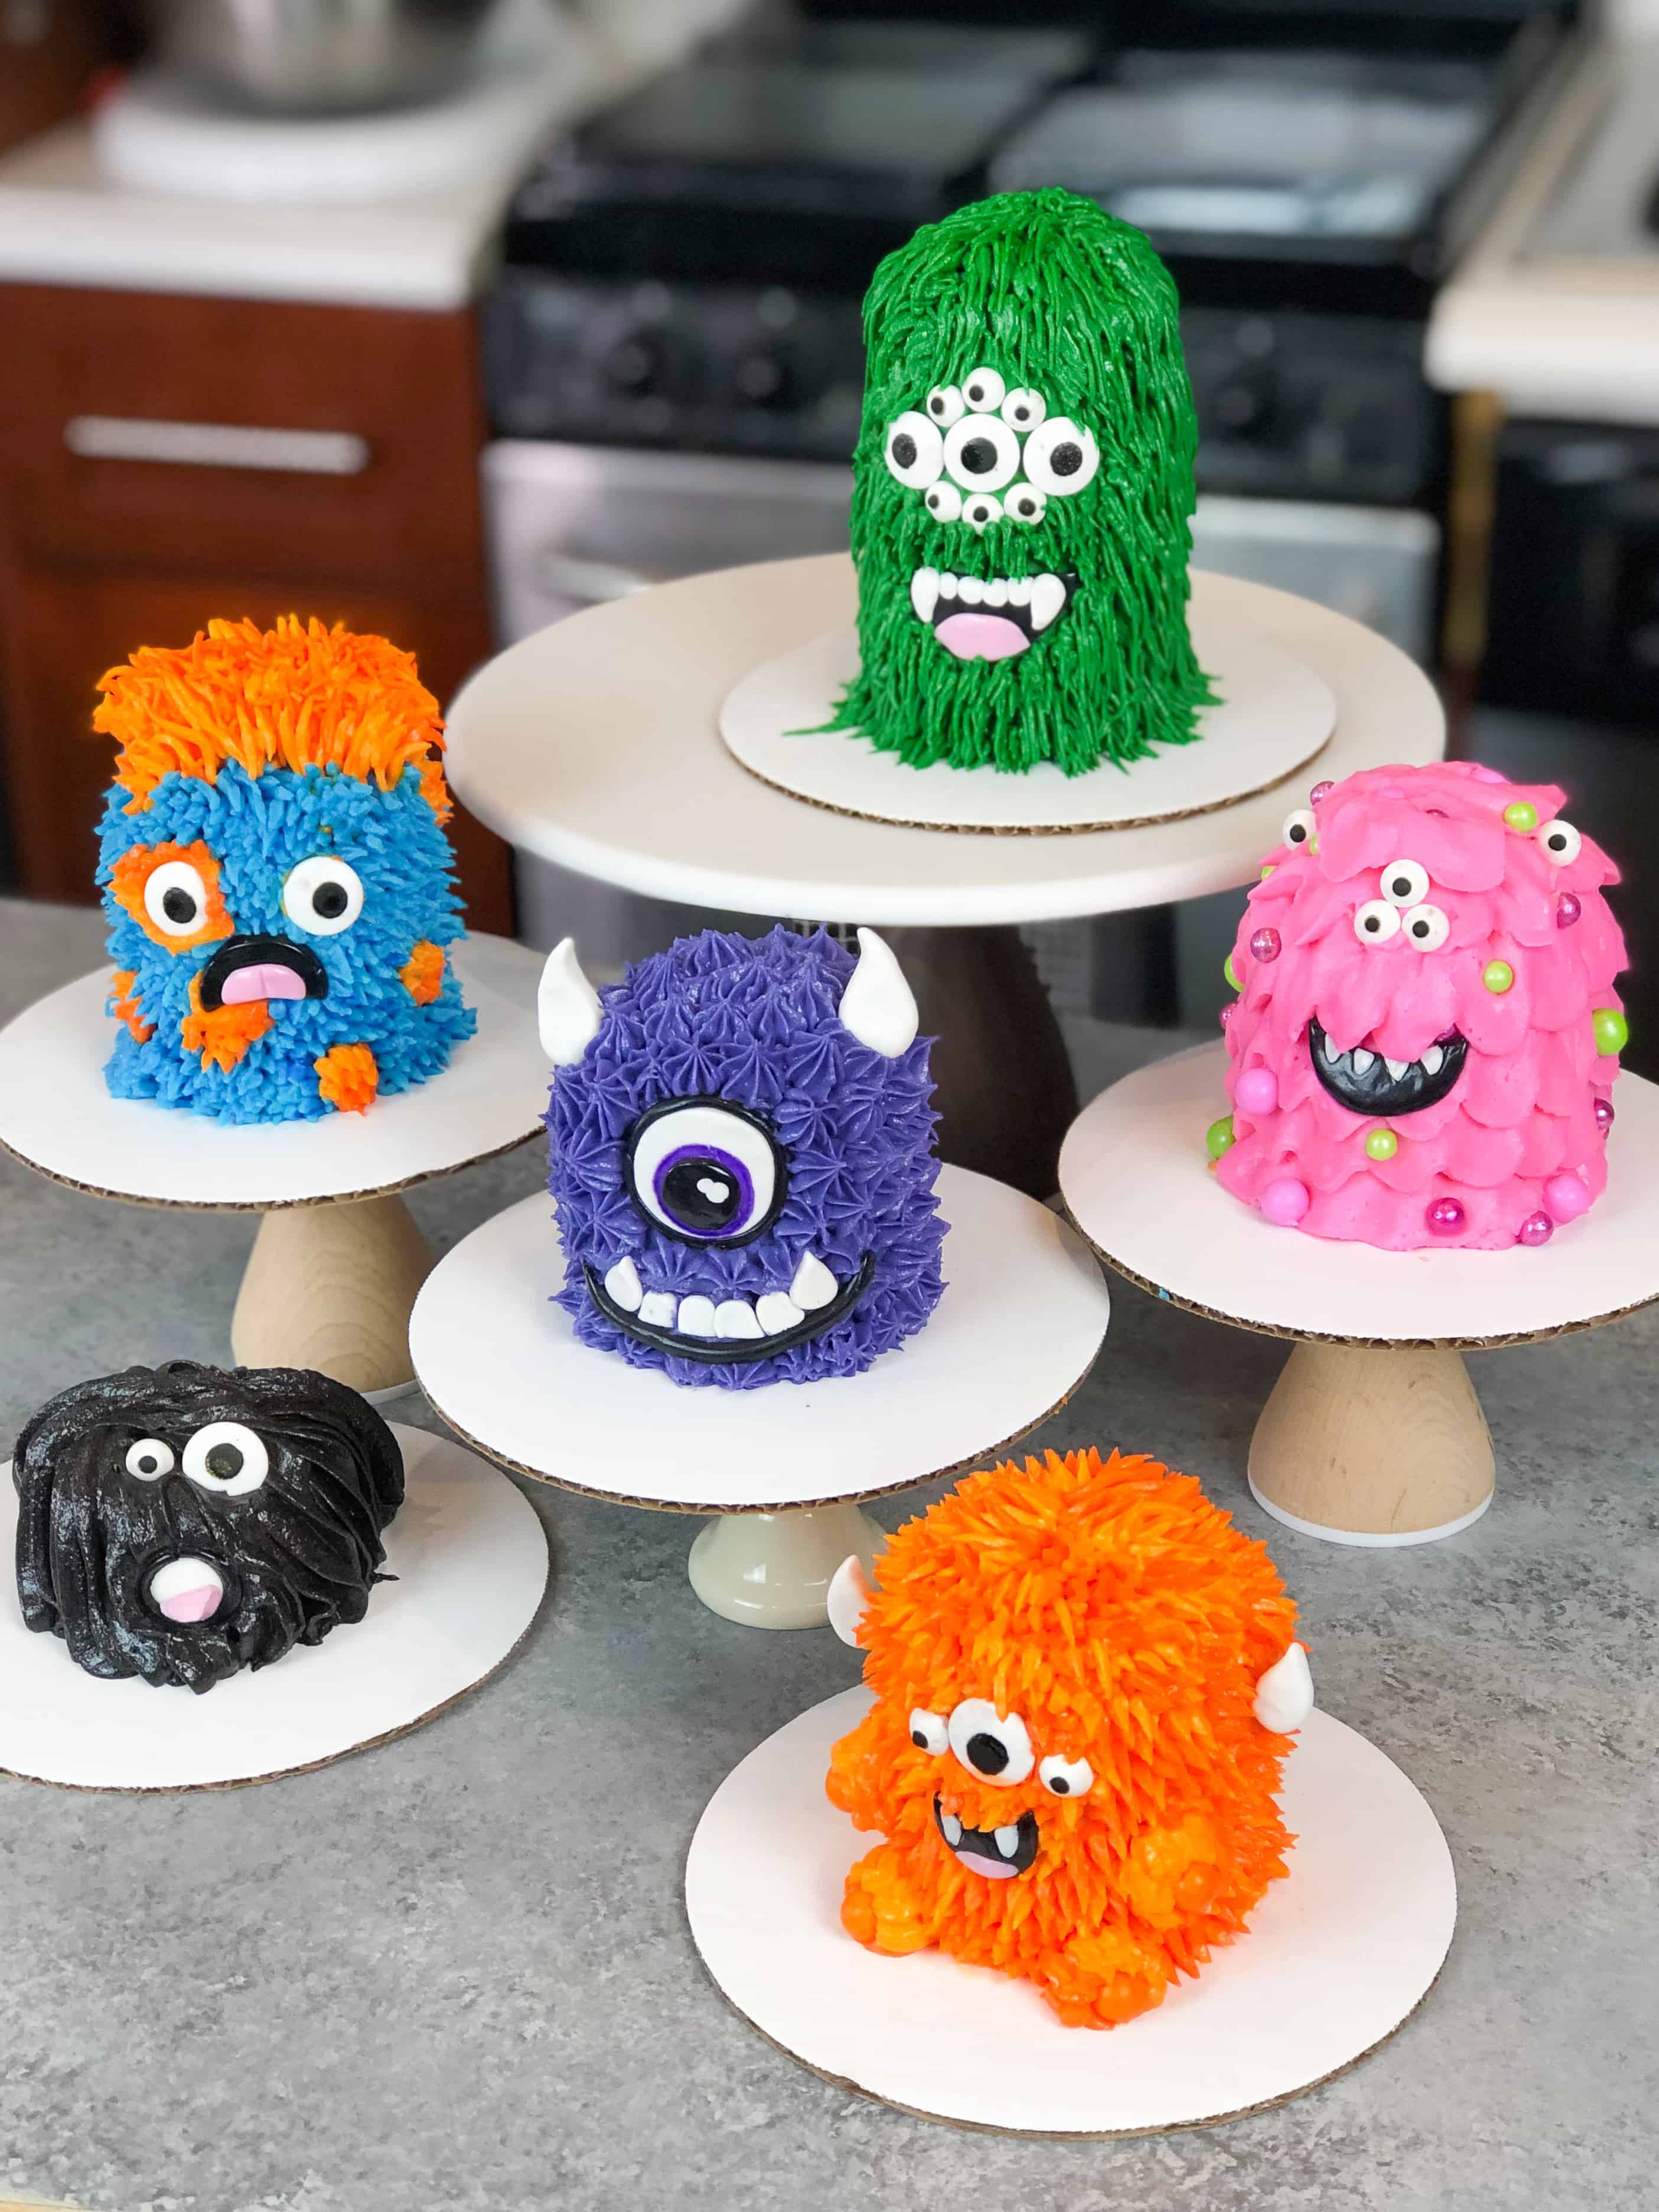
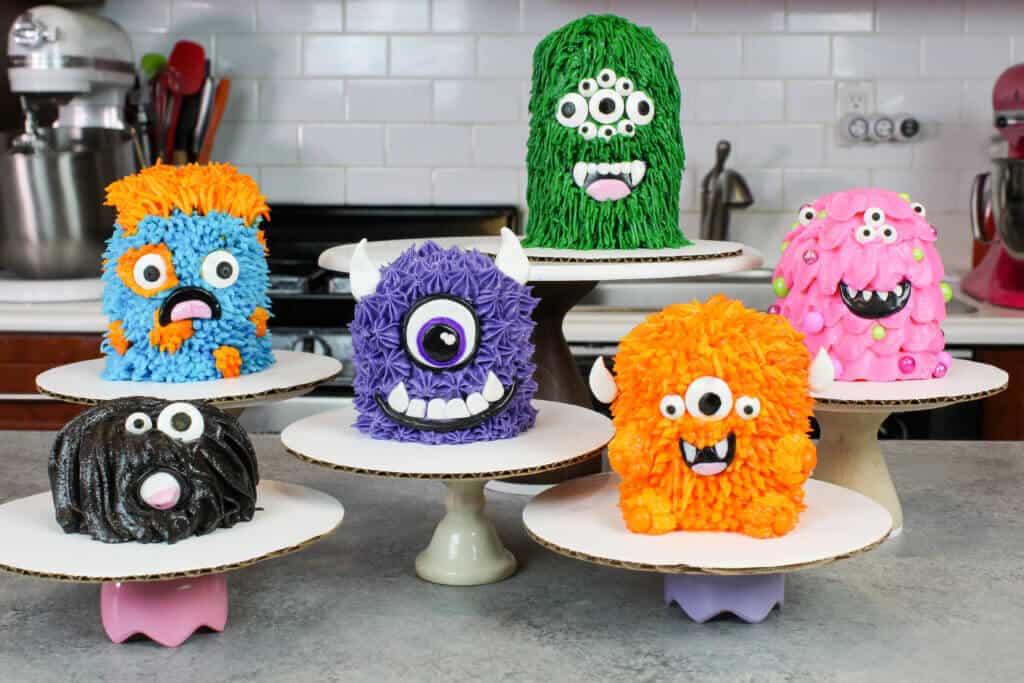
If you look closely, my green monster is made with three cupcakes, and the little black monster is made with just one!
I wanted a variety of height, because I knew they’d all be hanging out for a photoshoot at the end. I liked the way they looked with different heights, but you can stack them as high (or as low) as you’d like.
The Monster Fur
So now that we have our “layers” figured out, it’s time discuss the first component of decorating them. The buttercream fur!
I used my American buttercream because it’s my favorite frosting to pipe with, but any light colored frosting would work.

Whether you prefer a different type like swiss meringue or Italian, or a different flavor like cream cheese buttercream, you can use whatever you like best!
Just be sure it has a white base (so you can color it), and is stiff enough to be piped.
To make the fur on these little guys, I used the following frosting tips:
- blue and orange monster: wilton 234 frosting tip (large grass/fur tip)
- black monster: wilton 1M frosting tip (open star tip)
- purple monster: Ateco 824 frosting tip (small french tip)
- green monster: wilton 231 frosting tip (smaller grass/fur tip)
- pink monster: wilton 104 frosting tip (petal tip)
- orange monster: wilton 234 frosting tip (large grass/fur tip)
The Facial Expressions
After you’ve frosted your monsters, it’s time to add their faces. This is where your imagination can really run wild.
I used eyeball sprinkles (both large and small), and made one giant eyeball myself with black and white fondant. These were pretty straight forward, so I chose to get creative with the quantity and location of the eyeballs.
The mouth of each monster is what really defines it. Is it scared? Or angry? Maybe it’s happy? Clearly, I was very happy too 🙂
Mine were mostly happy, but a couple were scared! I made my mouths by rolling out some black and white fondant, and using some small circle cutters.
Tips for Making These Monsters:
- Insert a skewer or chopstick into the stacked cupcakes to make them easier to frost. Chill the stack with the skewer in, then remove it as you pipe on the second layer of frosting.
- Be sure to thoroughly chill the crumb coat of each monster, to help them keep their shape for decorating
- You can make the cupcakes for these monster cakes in advance! The cupcakes can be frozen for up to 2 weeks, if stored in an airtight container.
- You can also decorate the monsters ahead of time! Once the cupcakes are fully frosted, the buttercream will lock in all the moisture. They keep in the fridge for several days.

Let Me Know What You Think!
If you try making these monster cakes, I’d love to hear what think! Please leave a rating, and let me know your thoughts by sharing a comment.
Or if you share your creations on social media, be sure to tag me @chelsweets!
Other Recipes You Might Like:
Mini Monster Cakes
These mini monster cakes are simply adorable! They're made by stacking deliciously moist vanilla cupcakes with homemade buttercream frosting!!
Ingredients
Vanilla Cupcakes
- 1 1/4 cup all-purpose flour (162 grams)
- 1 cup sugar (200 grams)
- 1 1/2 tsp baking powder (6 grams)
- 3/4 tsp salt (4 grams)
- 1/2 cup buttermilk (120 grams)
- 1/4 cup vegetable oil (56 grams)
- 1 Tbsp vanilla extract (12 grams)
- 1 large egg, room temp (57 grams)
- 1/2 cup water (118 grams)
Vanilla Buttercream Frosting
- 1 cup unsalted butter, room temperature (217 grams)
- 3 1/2 cups powdered sugar (454 grams)
- 1 pinch salt (2 grams)
- 1 Tbsp heavy cream (or whipping cream) (15 grams)
- 2 tsp vanilla extract (8 grams)
Additional Decorations
- eyeball sprinkles
- white and black fondant
- various frosting tips (I used a wilton 233, wilton 104, and wilton 1M)
- gel food coloring (I used sky blue, royal purple, orange, deep pink, black, and green)
- small circle cutters (for the mouths)
- a wooden skewer or chopstick
Instructions
Vanilla Cupcakes
- Begin by preheating oven to 350°F (175°C), and place cupcake liners in baking pans.
- Add the flour, sugar, baking powder and salt to a large bowl, and gently combine with a whisk or large spoon.
- Pour in the buttermilk, and gently stir until just combined. The batter will be very thick, but that's how it should be!
- Next, add in the water, vanilla, egg and vegetable oil, and mix until the batter comes together.
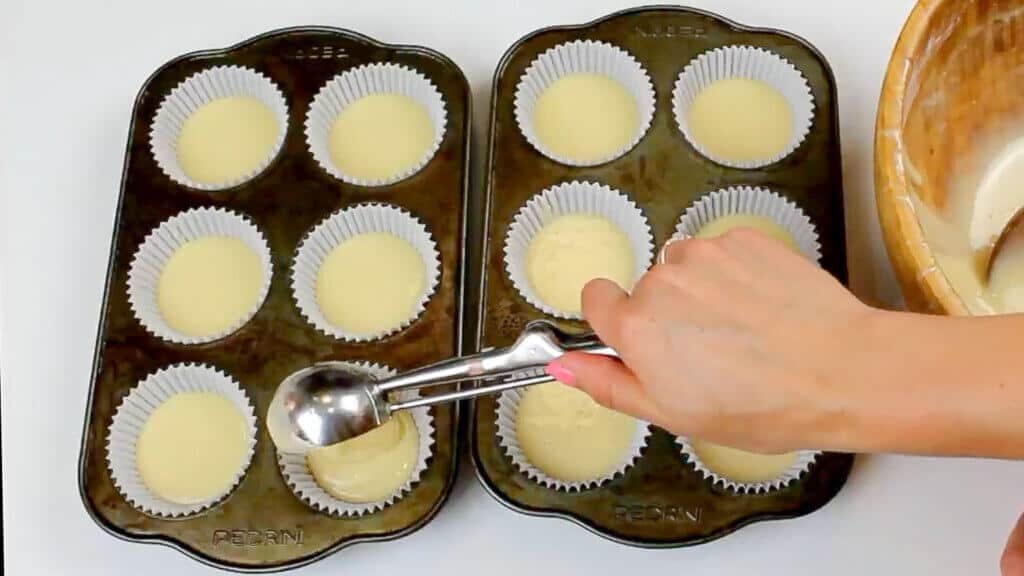
- Fill the cupcake liners about 2/3 way full. Bake for 17-18 minutes, or until a toothpick comes out clean.
- Allow the cupcakes to cool for 5 minutes before moving them to a cooling rack to finish cooling. If you want to accelerate the cooling process, pop the pans into your freezer for about 30 minutes.
Vanilla Buttercream
- Beat the butter on a medium speed for 30 seconds with a paddle attachment, until smooth. Slowly add in the powdered sugar, 1 cup at a time. Alternate with small splashes of cream.
- Once fully mixed, add in the vanilla and salt, and beat on low until the ingredients are fully incorporated, and the desired consistency is reached.
- If the frosting is too thick, add in additional cream (1 Tablespoon at a time). If the frosting is too thin, add in more powdered sugar (quarter of a cup at a time).
- Divide frosting evenly between six bowls, and color with gel food coloring of your choice. Place into piping bags fitted with your favorite frosting tips.
Monster Cake Assembly
- Unwrap two cupcakes.
- Add a dab of frosting onto a small, greaseproof cake board.
- Place on cupcake in the center of the board. Add an even layer of frosting, then stack the second cupcake on top.
- Insert a wooden skewer into the center of the cupcakes, the carefully cover the cupcake stack in thin layer of frosting.
- Freeze the stacked cupcakes for 5-10 minutes, until the frosting it firm to the touch.
- Remove from the freezer, and pipe on a second layer of frosting with a frosting tip of your choice.
- Add eyes and fondant facial features, and enjoy!
- Repeat with remaining cupcakes.
Notes
Feel free to get creative with the facial expressions, and use different sized circle cutters to make each monster's mouth!
Play around with different frosting tips, to create different textures and types of "fur" on each little monster.
Make these lil guys in advance! Once they're full frosted, they can sit in the fridge for several days. The frosting will lock in all the moisture 🙂
Nutrition Information
Yield
6Serving Size
1Amount Per Serving Calories 913Total Fat 43gSaturated Fat 21gTrans Fat 0gUnsaturated Fat 20gCholesterol 116mgSodium 506mgCarbohydrates 128gFiber 1gSugar 106gProtein 5g
Dumpling Cupcakes - The Cutest Dessert Dumplings
Sunday 26th of June 2022
[…] Monster Cupcakes Moist Chocolate Cupcakes Polar Bear Cupcakes Mini Chocolate Cupcakes Yield: 12 […]
Jeni M
Saturday 1st of January 2022
Your recipes/instructions were awesome (especially for this non baker). With the help of my Daughter in Law we made 16 of these monster cakes for my grandson’s monster themed bday. They were a hit. I learned about and made fondant. We had fun cutting out shapes/designs (eyes, mouths, spits, ears, etc). They turned out great! Thanks!!
Brain Cake: Easy Recipe & Design Made w/ Buttercream - Chelsweets
Sunday 24th of October 2021
[…] Monster Cupcakes […]
Elephant Cake: Detailed Tutorial & from Scratch Recipe
Saturday 23rd of January 2021
[…] Monster Cupcakes […]
Pooja
Tuesday 6th of October 2020
What do you think about substituting coconut cream for the heavy whipping cream in your frosting recipe?