
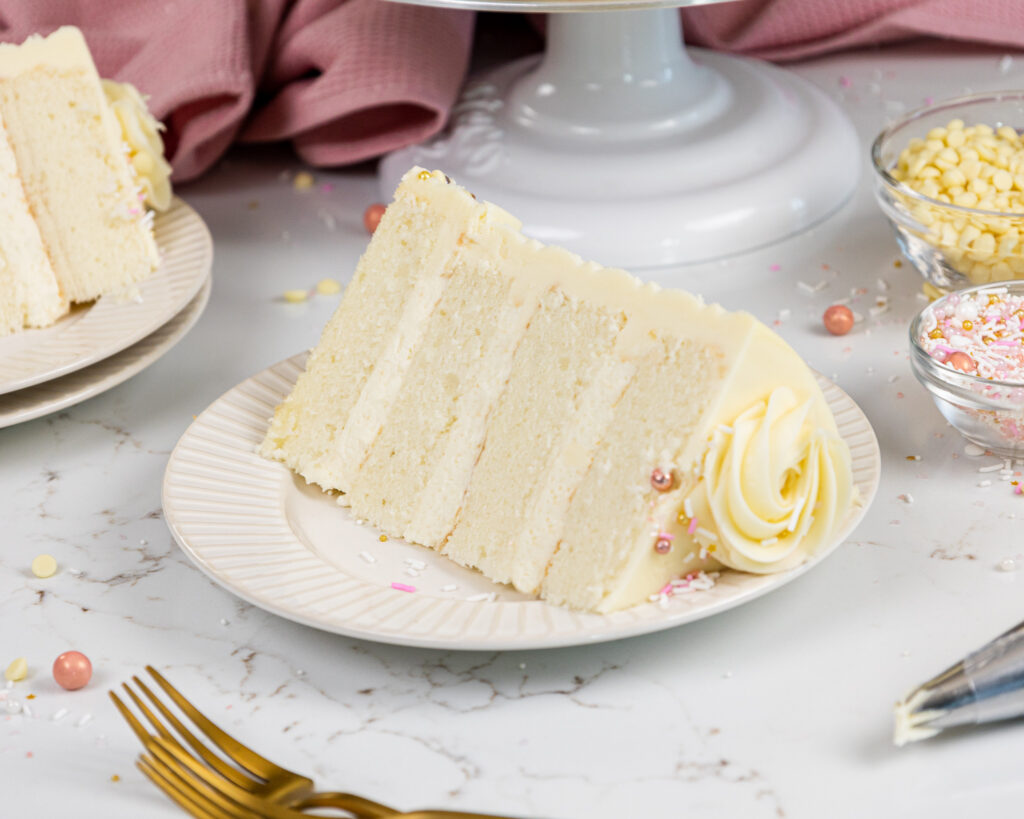
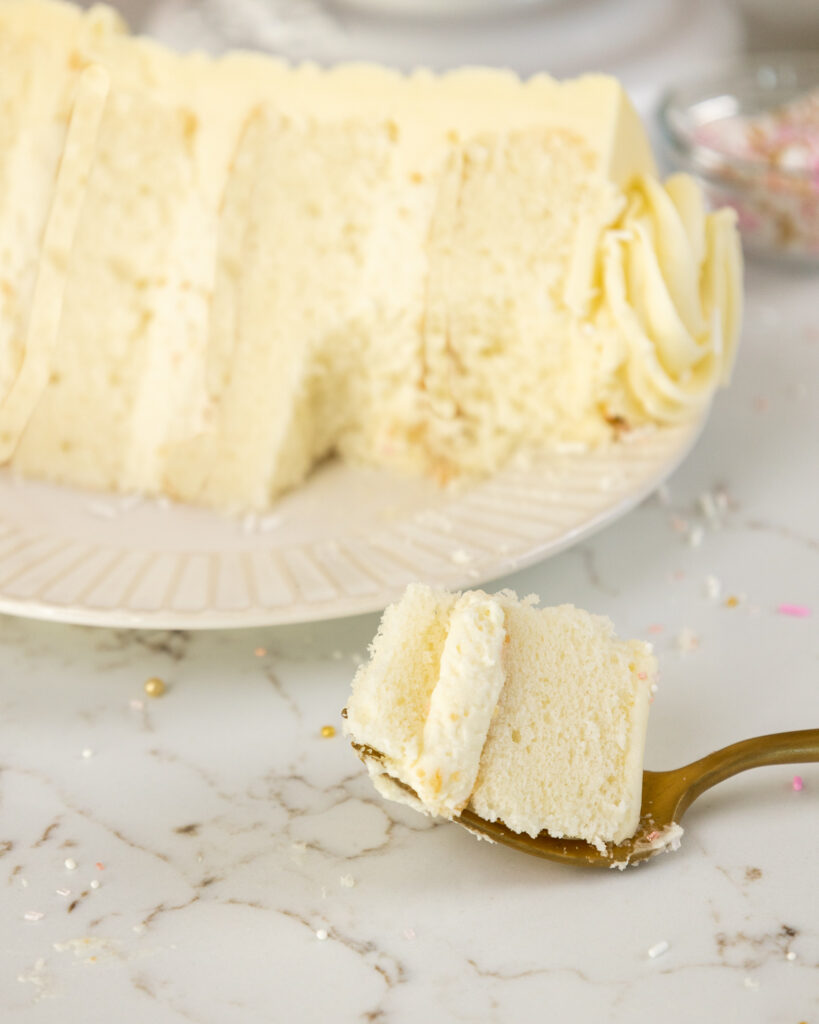
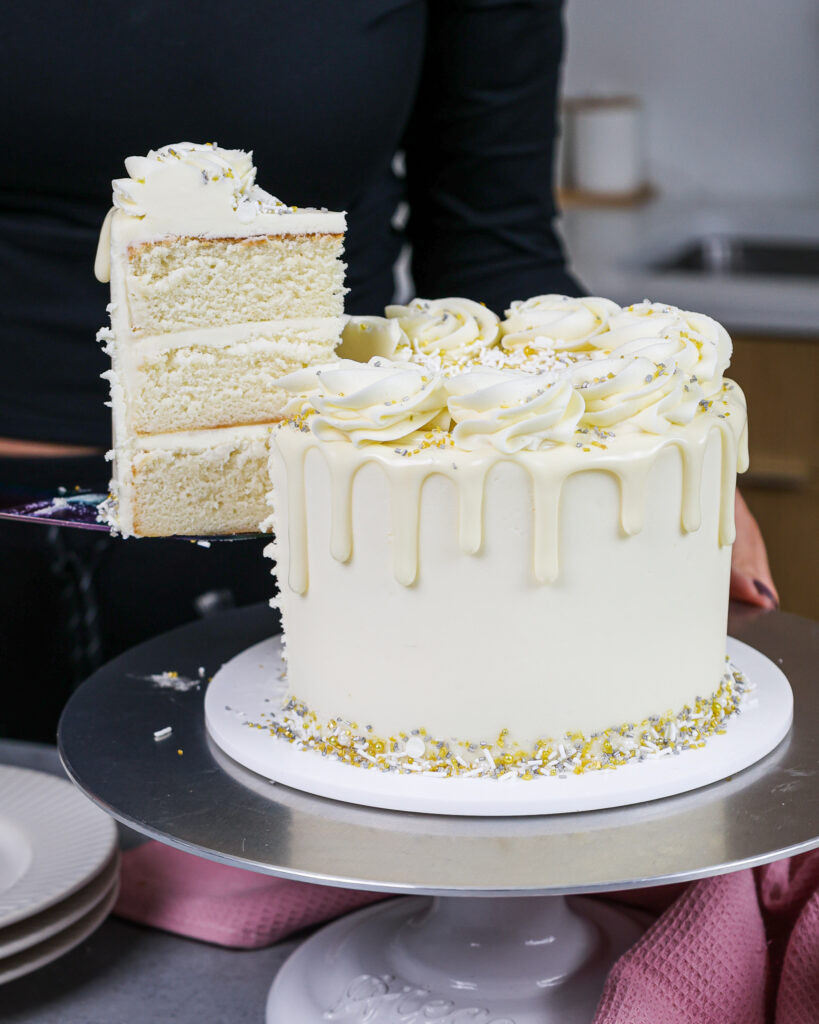
This white chocolate mousse cake recipe is made with fluffy white cake layers, the fluffiest white chocolate mousse filling, and decadent white chocolate buttercream.

How to Make This White Chocolate Mousse Cake
To make sure your white chocolate mousse cake turns out as amazing as possible, let’s walk through each step together!
I’ve also included a video tutorial of the process below.
Step 1: Make the White Chocolate Mousse
Make the white chocolate mousse first, so it has time to chill. It can also be made 1-2 days ahead of time.
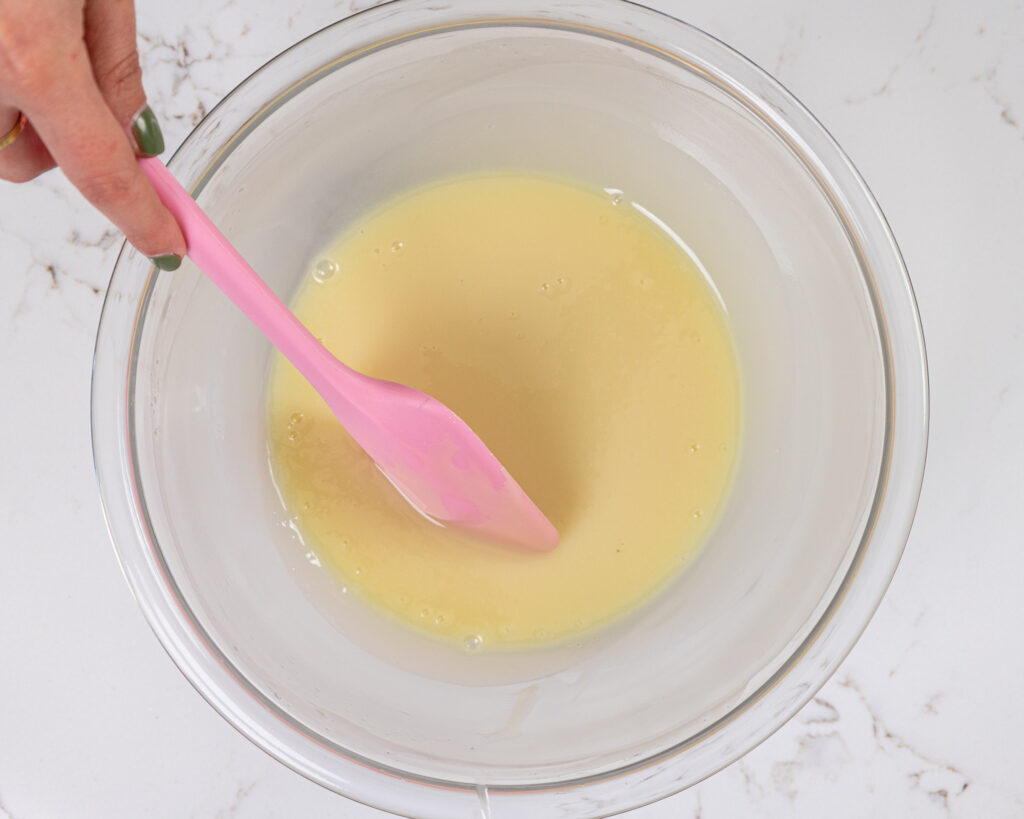
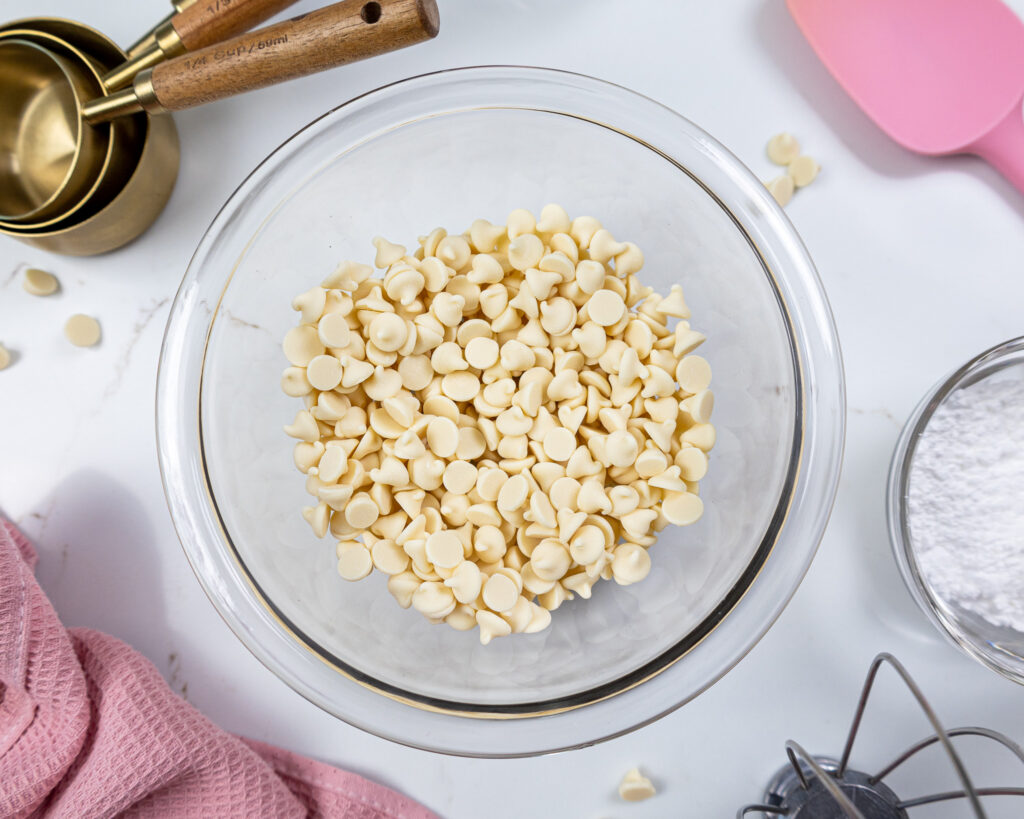
Melt the white chocolate by placing it in a medium-sized, heat-proof bowl with heavy cream.
Heat for 60-75 seconds, until the chocolate is completely melted and smooth, then set aside. This can also be done in a double boiler.
Add the heavy cream, powdered sugar, vanilla extract, and a pinch of fine salt in a large bowl or the bowl of a stand mixer fit with a whisk attachment.
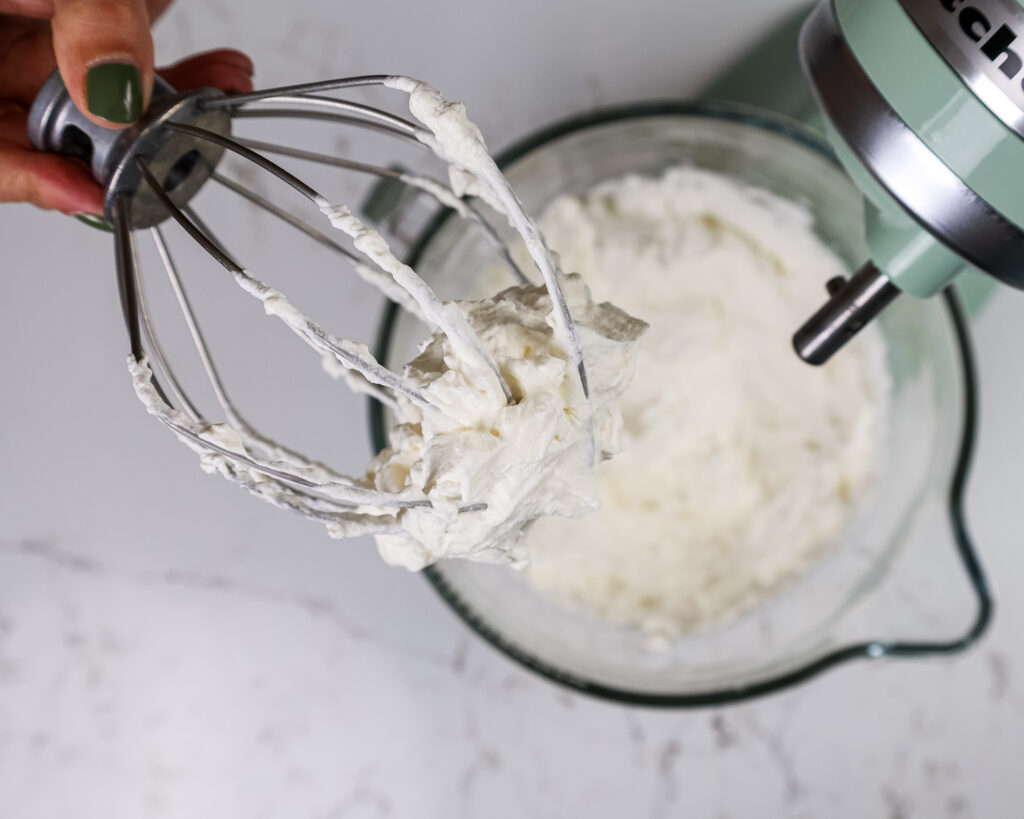
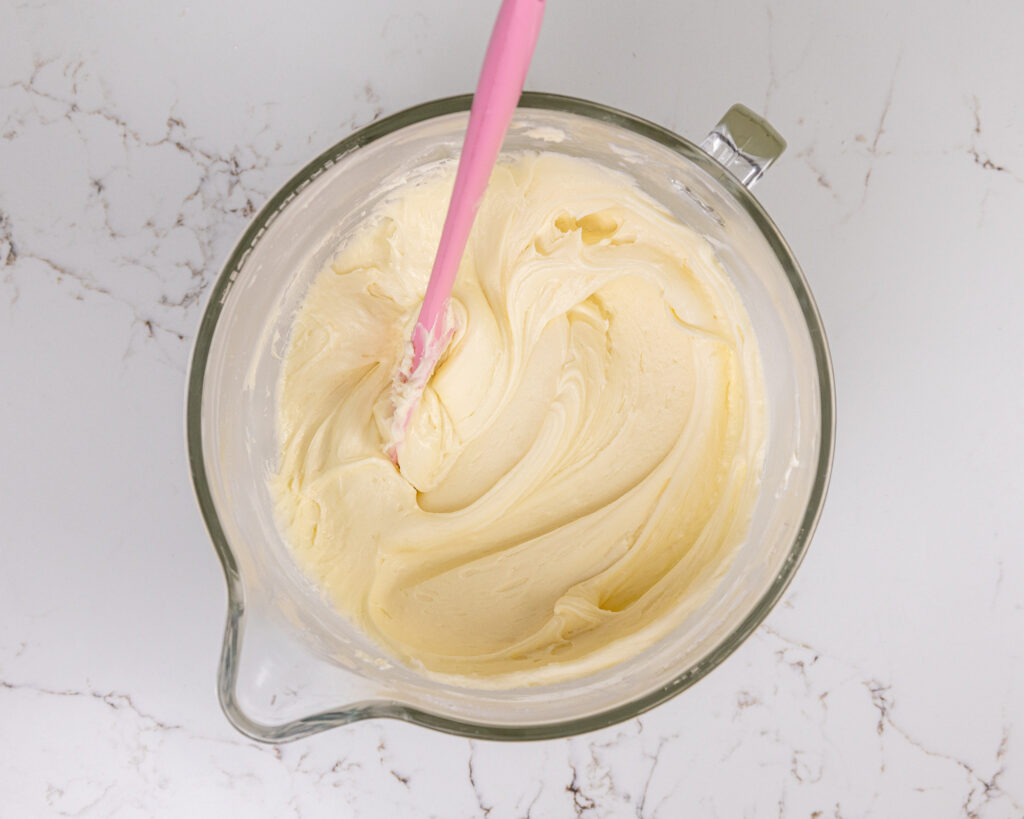
Mix on medium-high speed until the whipped cream starts to gather in the whisk attachment and you can see texture around the edges of the bowl (see photo below).
At this stage, the whipped cream should be thick and able to keep its shape.
This usually takes about 2 1/2 to 3 minutes in my stand mixer.
Gently fold the whipped cream into the white chocolate mixture in two additions.
Use a rubber spatula to swoop around the sides of the bowl and pull through the center like I show in the video of this recipe.
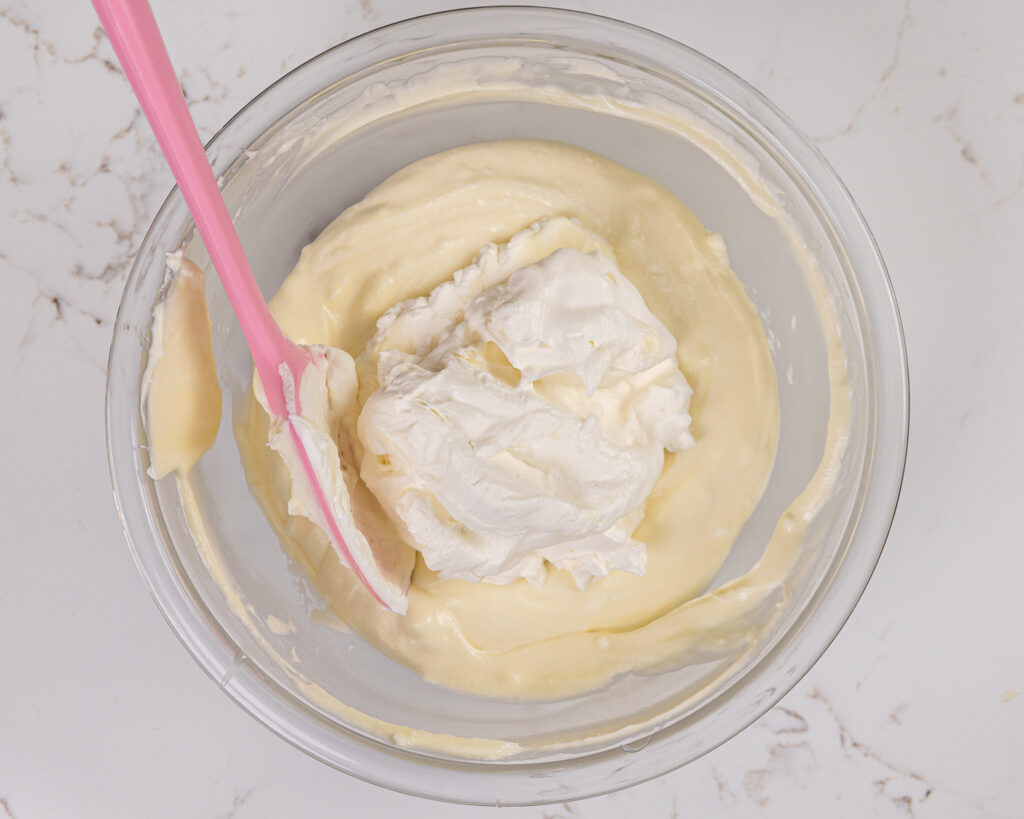
Be careful not to over-mix the mousse, or it will become deflated and lose its structure.
Cover the mousse with plastic wrap and chill in the refrigerator for at least 2 hours.
Step 2: Bake and Level the Vanilla Cake Layers
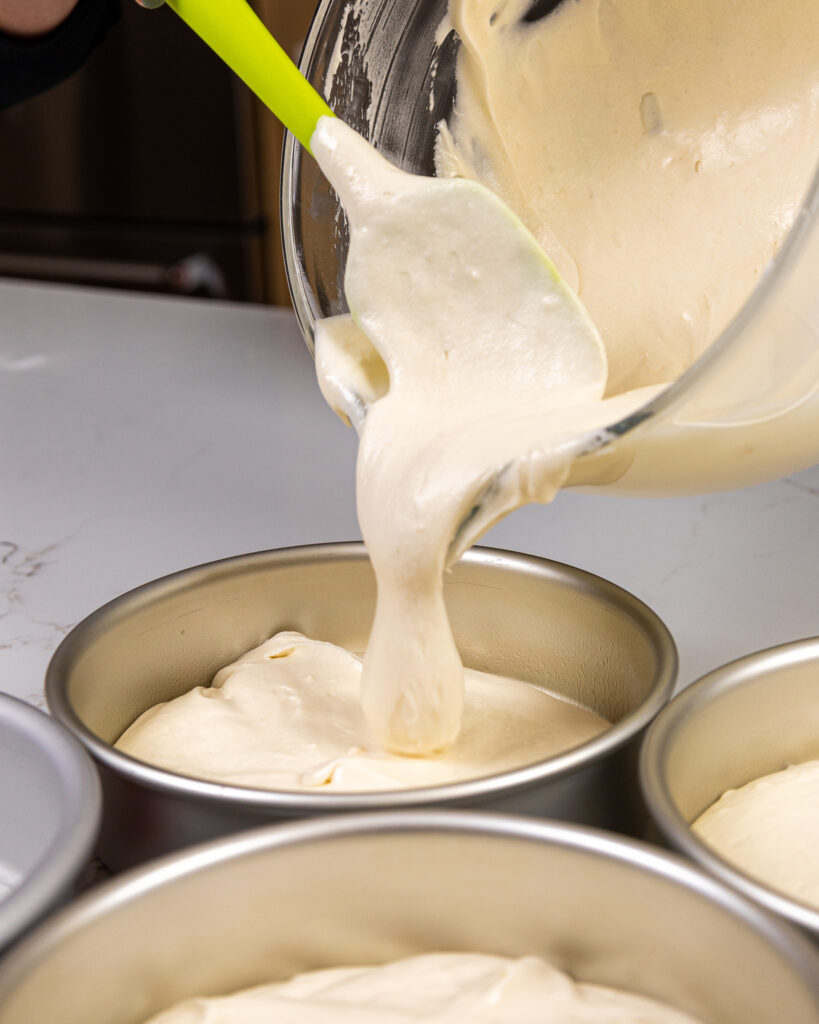
Next, make the vanilla cake batter. Divide the batter evenly between the prepared cake pans.
Bake for 37-40 minutes or until a toothpick comes out with a few moist crumbs.
Remove the cake layers from the oven and let them cool in the pans for about 10 minutes.
Gently run an offset spatula around the rim of the cake pans to loosen them, then flip them into wire racks to finish cooling.
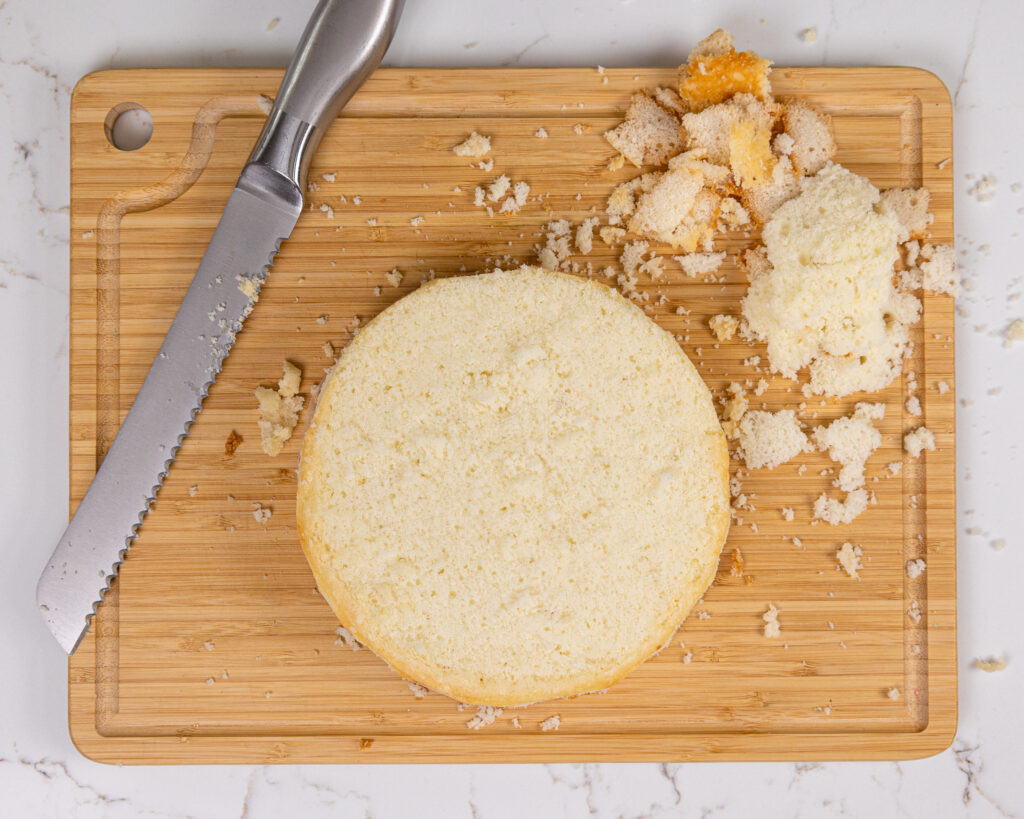
Once the cake layers have cooled to room temperature, use a serrated knife to level the top of each cake layer.
It makes the cake so much easier to stack and assemble!!
If you’re making these in advance, you can wrap and freeze them at this point.
Step 3: Make the White Chocolate Buttercream
While the cake layers bake and cool, make the white chocolate buttercream.
This frosting can also be made in advance if needed and kept in the fridge for up to a month!
If your frosting seems too thick after mixing your ingredients, add in additional cream (1 tablespoon at a time).
Or if the frosting is too thin, add in more powdered sugar (quarter of a cup at a time).
If you’re unsure how thick your frosting should be, you can learn what consistency you’re looking for in my frosting consistency post.
Step 4: Stack and Fill the Cake Layers
Stack and frost cake layers on a greaseproof cake board using a dab of white chocolate buttercream to help stick the first cake layer to the board.
Pipe a ring of buttercream around the perimeter of each cake layer, then spread an even layer of white chocolate mousse inside the ring.
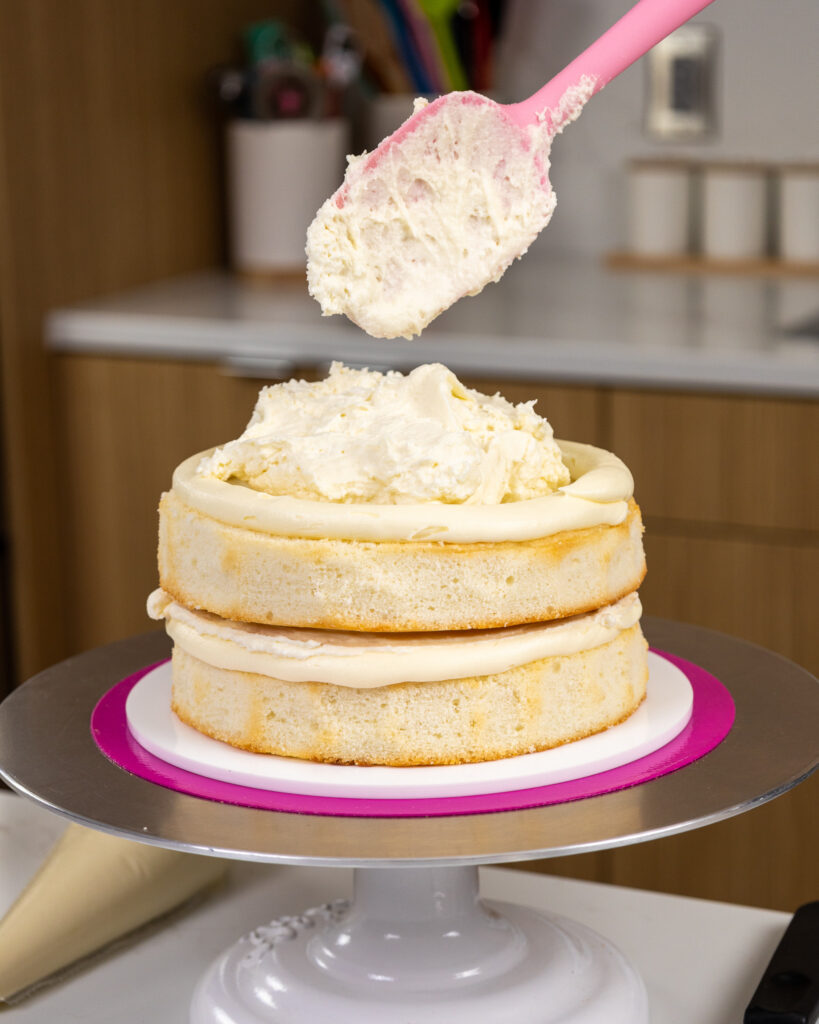
Repeat with the remaining cake layers. Once all the cake layers are stacked, spread a thin coat of frosting around the cake to fully cover the cake layers. This is called a crumb coat!
Smooth the frosting around the cake with a bench scraper, then freeze the cake for about 10 minutes in the freezer.
This will help the buttercream between the cake layers firm up and make the cake way easier to frost.
If you find your cake layers are sliding around as you try to frost the cake, you can insert a chopstick or wooden dowel into the center to keep the cake from sliding.
Step 5: Spread on a Thick Layer of Frosting
Add a second, thicker layer of white chocolate frosting to the cake and smooth using an icing comb.
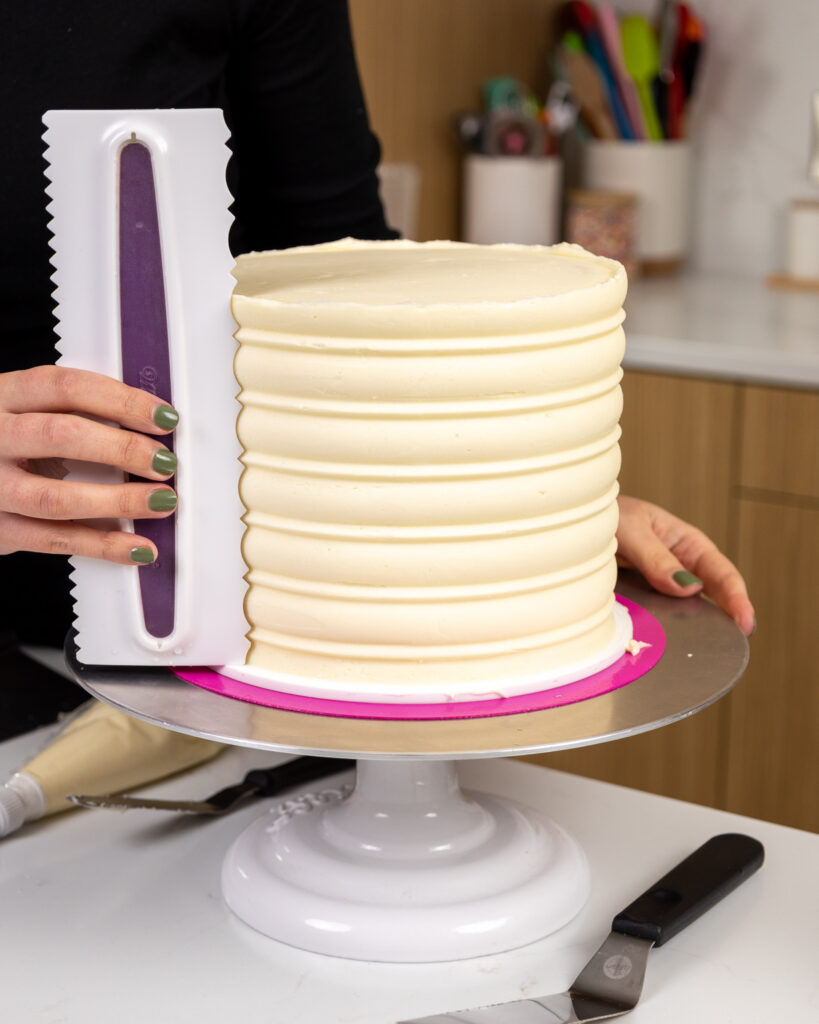
I chose to add buttercream swirls piped with a Wilton 1M frosting tip and a fun sprinkle blend around my cake, but you can decorate your however you like!
Substitutions & Swaps: White Chocolate Cake Layers
While I love this white chocolate mousse cake just the way it is, I know some of you might not have all these ingredients on hand.
Below are some swaps and substitutions that can be made in this recipe:
- Cake Flour – This recipe turns out best with cake flour. If you can’t find cake flour, you can make your own makeshift cake flour using this method. You can also swap in a good gluten free flour blend (like this) if needed. Just be sure to stir the batter longer than normal to help give the cake proper structure, and let the batter sit for about 20 minutes before baking it if you opt to make a gluten free version.
- Granulated Sugar – I do not recommend reducing the amount of sugar or changing the type of sugar, as it will change the texture of the cake layers.
- Sour Cream – You can also use full fat yogurt, buttermilk, whole milk, or an alternative yogurt or milk (almond, soy, oat).
- Vegetable Oil – Use any flavorless oil can in this recipe. Canola, vegetable, or even sunflower oil would all work great. I don’t recommend olive oil though, as it has a strong flavor and will change the taste of the cake.
- Egg whites – This recipe uses large egg whites. I like to use the type that come in a carton so that I don’t have to separate my eggs, but you can also use fresh egg whites. If you have an egg allergy you can try using a vegan egg replacer.
Substitutions & Swaps: White Chocolate Buttercream
Some swaps and substitutions that can be made in this frosting recipe include:
- Unsalted Butter – If you only have salted butter on hand, you can use it in place of the unsalted butter. Just be sure to omit the salt that this frosting recipe calls for. You can also use vegan butter in its place!
- Heavy Cream – Whole milk or alternative milk (soy, almond, oat) can also be used to make the frosting.
- White Chocolate – You can use white chocolate chips or good-quality white chocolate bars to melt and add into the frosting.
Tips for Making the Best White Chocolate Mousse Cake
- When making the white chocolate mousse, chill your mixing bowl and whisk attachment in the freezer. It makes it easier and quicker to whip up the whipped cream for the mousse.
- Ingredients at room temp mix together better! Set out any cold ingredients ahead of time.
- Properly measure your flour (spoon into the cup measure, then level). Or better yet, use a kitchen scale to measure your dry ingredients.
- Mix the cake batter just until the ingredients are incorporated. This will ensure your cake layers are tender and fluffy.
- Use a scale to weigh your cake pans as you fill them. It will make your cake layers bake to the same height and bake more evenly.
- Bang your cake pans on the counter before putting it in the oven. This brings any big air bubbles that are trapped in the batter to the surface.
- Level your room temperature or thawed cake layers with a serrated knife to make them easier to stack.
- Chill your cake layers in the freezer for about 20 minutes before assembling the cake. It makes it so much easier to stack and frost them!
Making This White Chocolate Mousse Cake in Advance and Storage Tips
Make your cake layers in advance and freeze them. It breaks the process up and makes it more approachable.
The white chocolate mousse can also be made in advance! Make it up to 2 days in advance and store in the fridge.
Make your white chocolate frosting ahead of time or save any leftover frosting! Store in an airtight container in the fridge for up to a month.
This frosting can also be stored in the freezer for up to 3 months! Just be sure to give it a good stir once it thaws to make it nice and smooth again. This cake can last in the fridge for up to 2 days.
Let Me Know What You Think
If you try this strawberry mousse cake recipe, I’d love to hear what you think! Please leave a comment and rating below.
And don’t forget to tag me @chelsweets and #chelsweets so that I can see your delicious creations on social media!
Other Recipes You Might Like:

White Chocolate Mousse Cake
This white chocolate mousse cake recipe is made with fluffy white cake layers, the fluffiest white chocolate mousse filling, and a decadent white chocolate buttercream.
Ingredients
White Chocolate Mousse
- 1 1/3 cups good quality white chocolate chips (215g)
- 1 1/2 cups heavy cream or heavy whipping cream, cold - divided (360ml)
- 1/4 cup powdered sugar (30g)
- 1 tsp vanilla extract (4mL)
- pinch of fine salt (less than 1/8 tsp)
White Cake Recipe
- 1 cup or 2 stick unsalted butter, room temperature (226g)
- 3 cups granulated sugar (600g)
- 1 cup pasteurized egg whites from a carton or about 7 egg whites, room temperature (235g)
- 3 cups cake flour (360g)
- 2 1/2 tsp baking powder (10g)
- 1 tsp salt (6g)
- 1 1/2 cups full-fat sour cream, room temperature (380g)
- 1/4 cup vegetable oil (56 ml)
- 1 tsp vanilla extract (4ml)
White Chocolate Buttercream Frosting
- 2 cups unsalted butter, room temperature (452g)
- 7 cups powdered sugar (900g)
- 1 tsp vanilla extract (4ml)
- 1/2 tsp salt (3g)
- 1/3 cup heavy cream or whipping cream (75g)
- 1 cup white chocolate chips, melted and cooled (160g)
Tools and Equipment Needed
Instructions
White Chocolate Mousse Filling
- Make the white chocolate mousse first, so it has time to chill. Or better yet, make this mousse in advance! It can be made 1-2 days ahead of time.
- Add the white chocolate chips and 1/2 cup heavy cream in a medium-sized, heat-proof bowl. Heat for 60-75 second in the microwave, then let the mixture sit for a minute. Stir until combined with a rubber spatula. The white chocolate should be completely melted, and the mixture should be smooth. If you don't have a microwave, you can also use a double boiler. Set aside.
- Add 1 cup of heavy cream, powdered sugar, vanilla extract, and a pinch of fine salt in a large bowl or the bowl of a stand mixer fit with a whisk attachment.
- Mix on medium-high speed until the whipped cream starts to gather in the whisk attachment and you can see texture around the edge of the bowl. The whipped cream should be thick and able to keep its shape. This usually takes about 2 1/2 to 3 minutes in my stand mixer.
- Gently fold half of the whipped cream into the white chocolate cream mixture using a rubber spatula. Use the spatula to swoop around the sides of the bowl and pull through the center like I show in the video of this recipe. Fold in the remaining whipped cream. Be careful not to over-mix the mousse, or it will become deflated and lose its structure.
- Cover the mousse with plastic wrap and chill in the refrigerator for at least 2 hours.
White Cake Layers
- Preheat oven to 325°F. Line and grease four, 7-inch pans or three, 8-inch cake pans with parchment rounds.
- Add the unsalted butter and granulated sugar into the bowl of a stand mixer. Mix together on a high speed with a whisk attachment for a few minutes. Scrape down the sides of the bowl as needed with a rubber spatula. The mixture should become lighter in color as air is whipped into it.
- Add in the room temperature egg whites and mix at a medium speed until they're incorporated.
- Whisk together the cake flour, baking powder, and salt into a separate bowl.
- Add half of the dry ingredients into the butter mixture and mix on a low speed until incorporated.
- Add the sour cream, oil, and vanilla extract and mix at a low speed until combined. Scrape the sides and bottom of the bowl as needed.
- Mix in the remaining dry ingredients on a low speed.
- Divide the batter evenly between the prepared cake pans. I like to use a digital kitchen scale to weigh my pans to make sure my layers bake up to be the same height.
- Bake for 37-40 minutes, or until a toothpick comes out with a few moist crumbs. Rotate the pans halfway through to help them bake evenly.
- Allow the pans to cool for 10 minutes, then run an offset spatula around the perimeter of the pan to separate the cake from the pan.
- Place the cake layers into the freezer for 45 minutes to accelerate the cooling process. Once the layers are fully cooled, carefully flip the pans and remove the layers from the pans.
- Use a serrated knife to level the tops and trim the sides to remove any caramelization.
White Chocolate Buttercream Frosting
- While the cake layers bake and cool, make the white chocolate buttercream frosting.
- Beat the butter on a low speed for 30 seconds with a paddle or whisk attachment until smooth.
- Add in the vanilla extract and salt and beat on a low speed.
- Slowly add in the powdered sugar and mix on a low speed. Add in the heavy cream halfway through to make the frosting easier to mix.
- Mix in the melted and cooled white chocolate on a low speed and scrape down the sides and bottom of the bowl with a rubber spatula as needed.
- Continue to mix until the ingredients are fully incorporated and the desired consistency is reached.
- If the frosting is too thick, add in additional cream (1 teaspoon at a time). If the frosting is too thin, add in more powdered sugar (quarter of a cup at a time).
- Stir by hand with a rubber spatula to make the frosting extra smooth, then place the frosting in a large piping bag. Seal the top of the bag with a rubber band or clip and cut an opening that's about 3/4 inch wide at the base of the bag. Set aside.
Assembling This White Chocolate Mousse Cake
- Stack and frost the cake layers on a greaseproof cake board using a dab of frosting to help stick the first cake layer to the board.
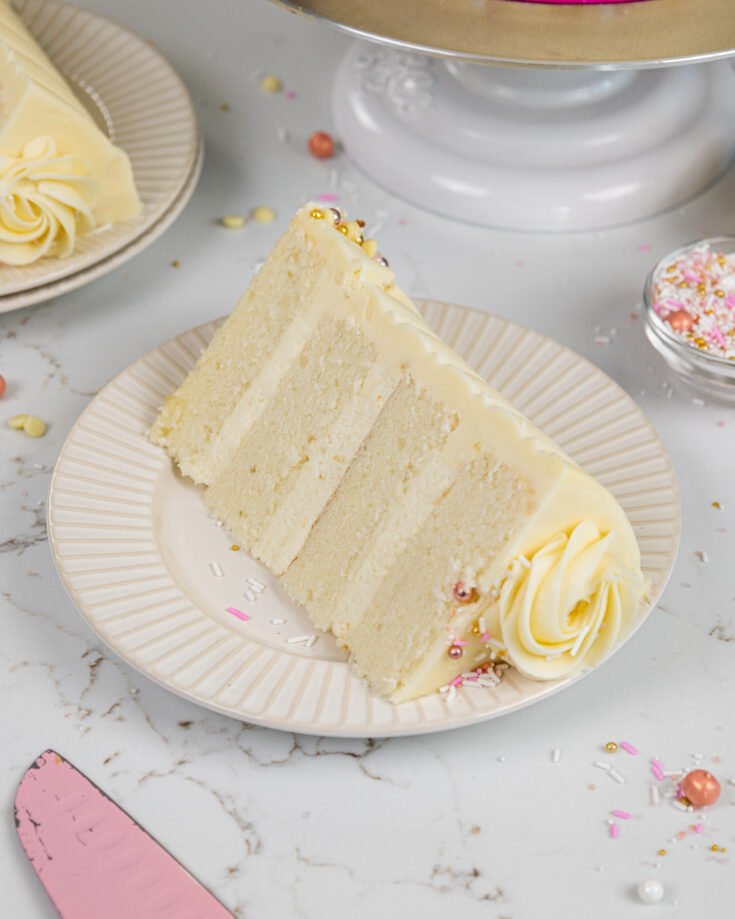
- Pipe a ring of buttercream around the perimeter of each cake layer, then spread an even layer of white chocolate mousse inside the ring. Use about 1/3 of the mousse between each layer if you have 4 cake layers. If you have 3 cake layers, use 1/2 of the mousse between each layer.
- Repeat with remaining cake layers. Once all the cake layers are stacked, spread a thin coat of frosting around the cake to fully cover the cake layers. If your layers are sliding around, insert a chopstick or wooden dowel into the center of the cake to make it more stable.
- Smooth using a bench scraper, then chill the cake in the fridge (30 minutes) or freezer (10 minutes) until the frosting is firm to the touch.
- Add a second, thicker layer of white chocolate frosting to the cake and smooth using an icing comb.
- Decorate as desired! I chose to add some buttercream swirls piped with a Wilton 1M frosting tip along with a pretty sprinkle blend.
Notes
Tips for Making the Best White Chocolate Mousse Cake
- When making the white chocolate mousse, chill your mixing bowl and whisk attachment in the freezer. It makes it easier and quicker to whip up the whipped cream for the mousse.
- Properly measure your flour (spoon into the cup measure, then level). Or better yet, use a kitchen scale to measure your dry ingredients.
- Mix your cake batter just until the ingredients are incorporated. This will ensure your cake layers are tender and fluffy.
- Use a scale to weigh your cake pans as you fill them. This will make your cake layers bake to the same height and bake more evenly.
- Bang your cake pans on the counter before putting it in the oven. This brings any air bubbles that are trapped in the batter to the surface.
- Level your room temperature or thawed cake layers with a serrated knife to make them easier to stack.
- Chill the leveled cake layers in the freezer for about 20 minutes before assembling the cake. It makes it so much easier to stack and frost them!
Making This Cake in Advance and Storage Tips
- Make your cake layers in advance and freeze them. It breaks the process up and makes it more approachable.
- Make your frosting ahead of time too or save any leftover frosting! It can be stored in an airtight container in the fridge for up to a month, or in the freezer for up to 3 months. Be sure to give it a good stir once it thaws to get the consistency nice and smooth again.
- The white chocolate mousse filling in this cake can be made up to two days in advance if stored in an airtight container in the fridge.
- A frosted cake can last in the fridge for up to a week, or in the freezer for up to a month. The buttercream locks in all the moisture, keeping the cake fresh and delicious!
- If you cut into the cake and have leftovers, use any remaining frosting to cover the cut section to keep it moist and store in the fridge for up to a week.
Nutrition Information
Yield
24Serving Size
1Amount Per Serving Calories 748Total Fat 44gSaturated Fat 25gTrans Fat 0gUnsaturated Fat 16gCholesterol 106mgSodium 280mgCarbohydrates 86gFiber 0gSugar 71gProtein 6g
Blackberry Mousse Cake: Delicious Recipe Bursting with Berries
Friday 9th of September 2022
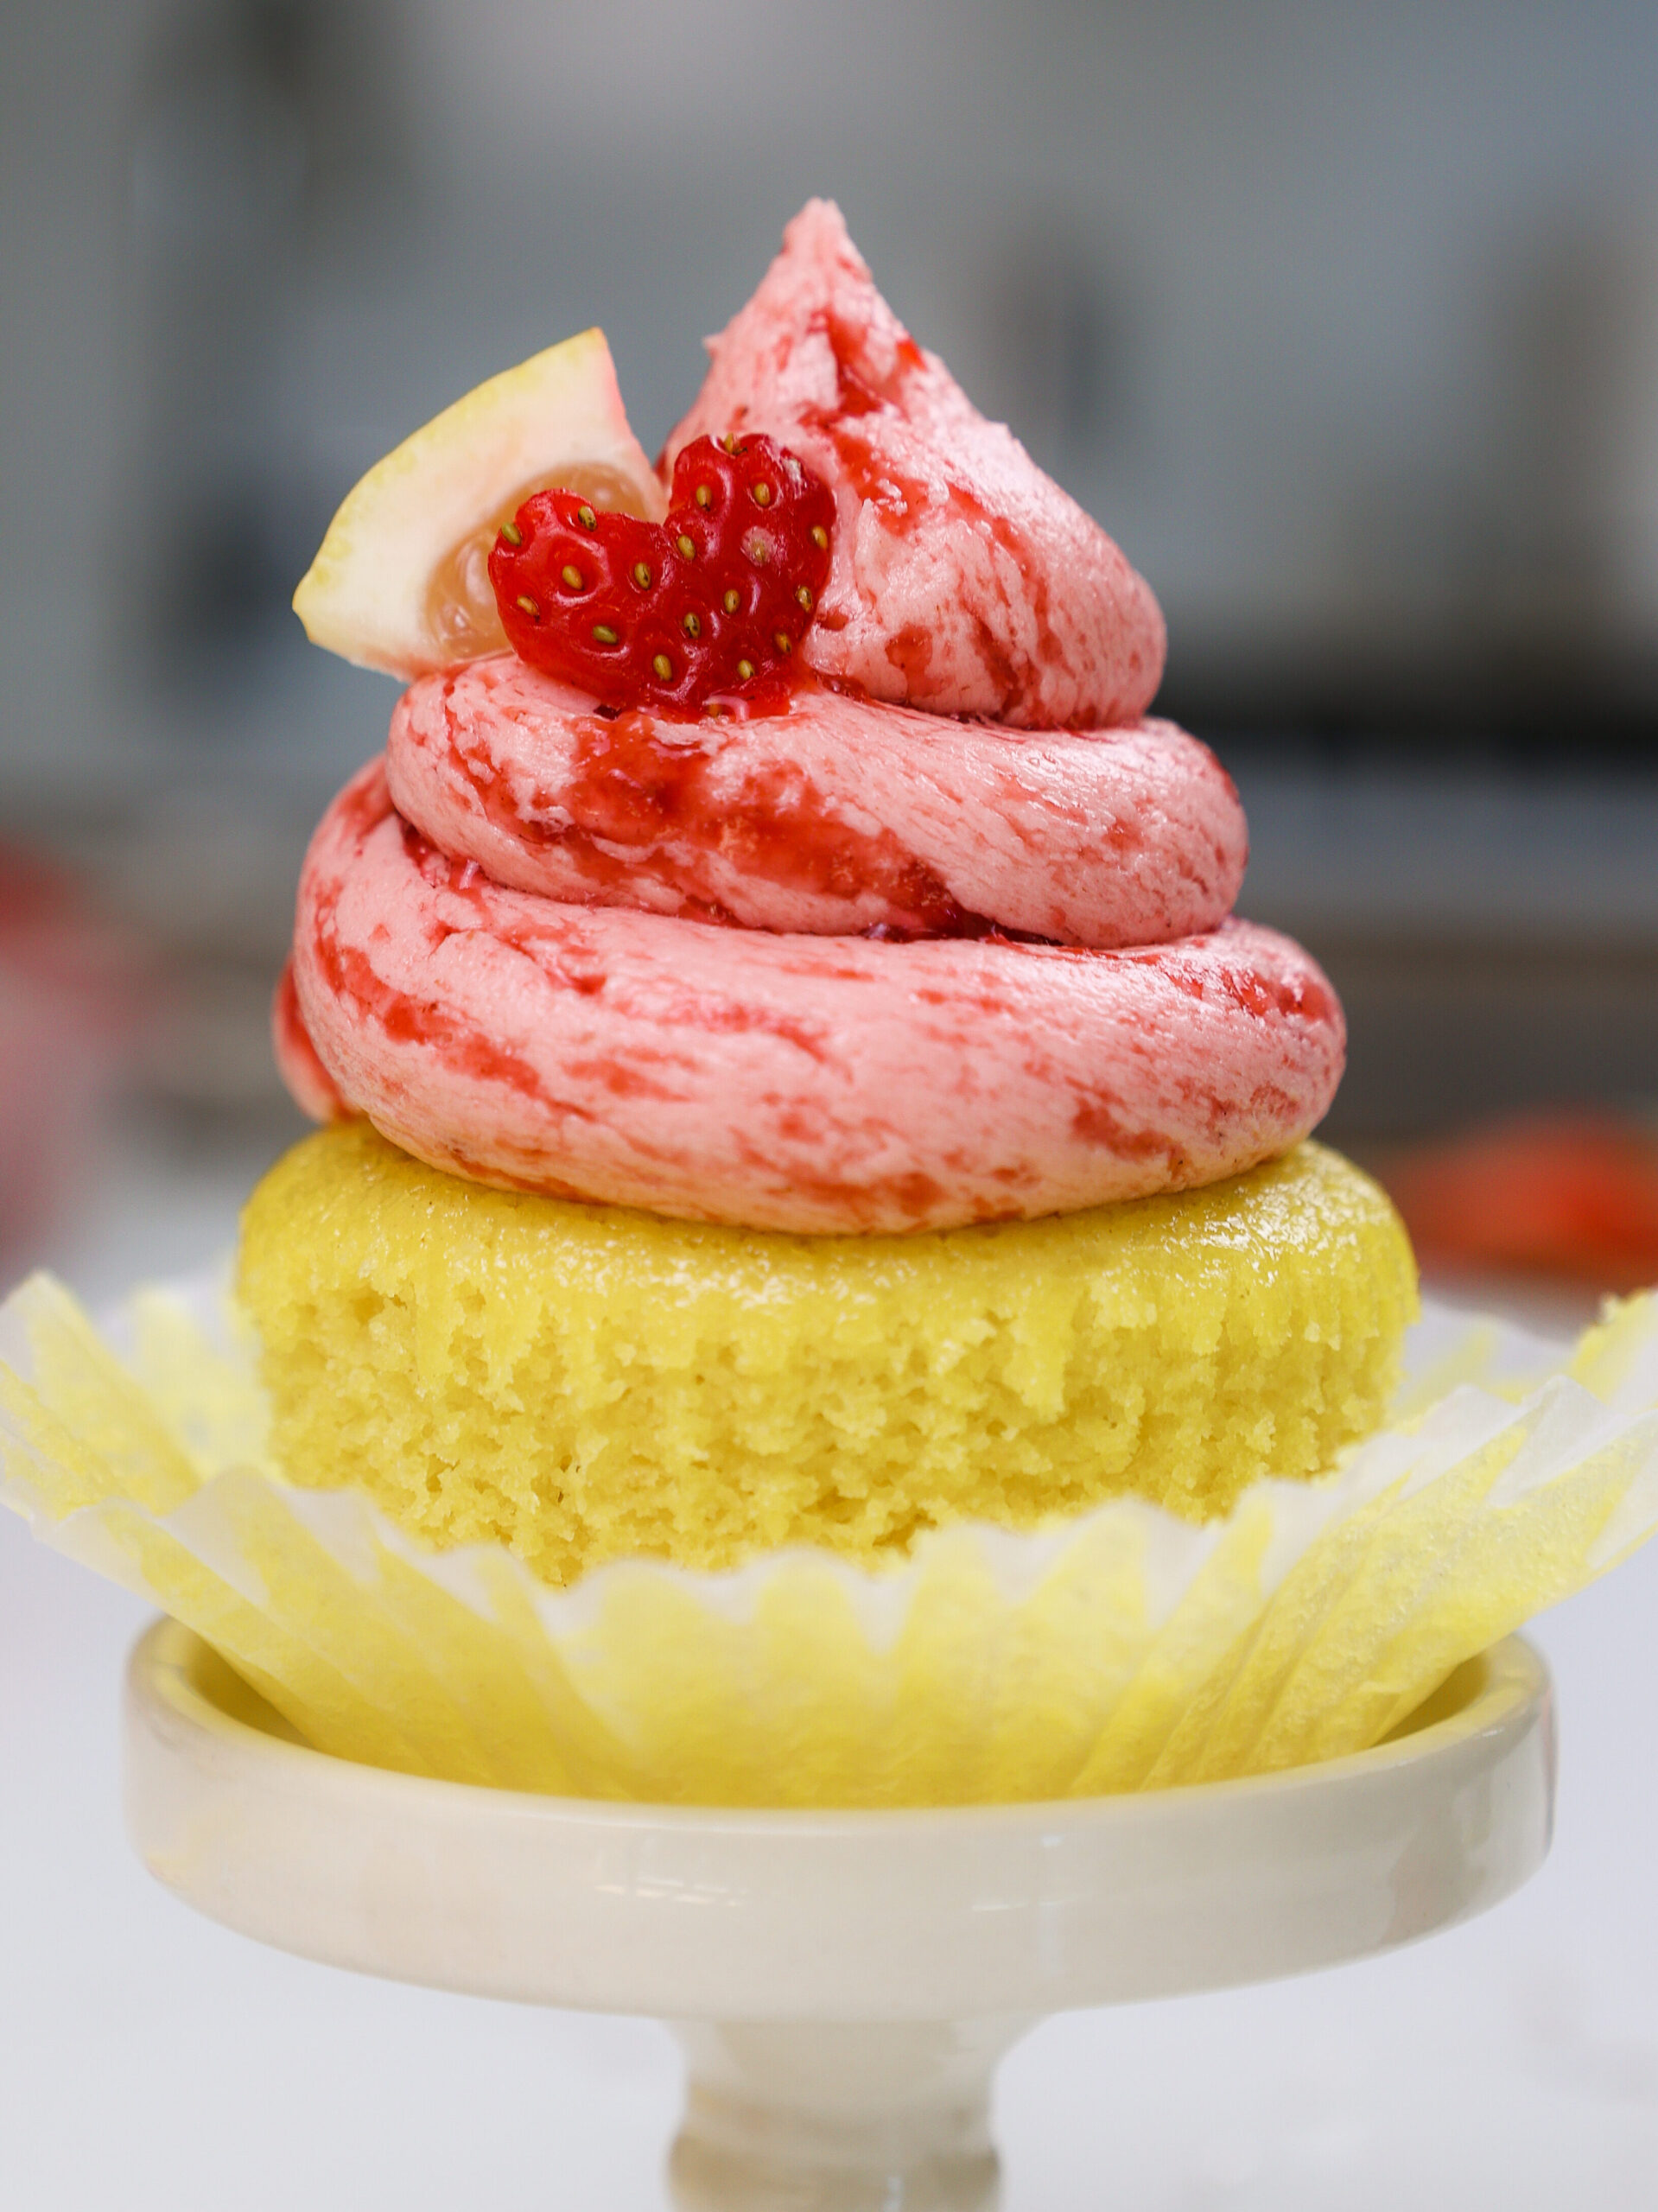
[…] Lemonade Cupcakes White Chocolate Mousse Cake Strawberry […]
Susannah
Thursday 5th of May 2022
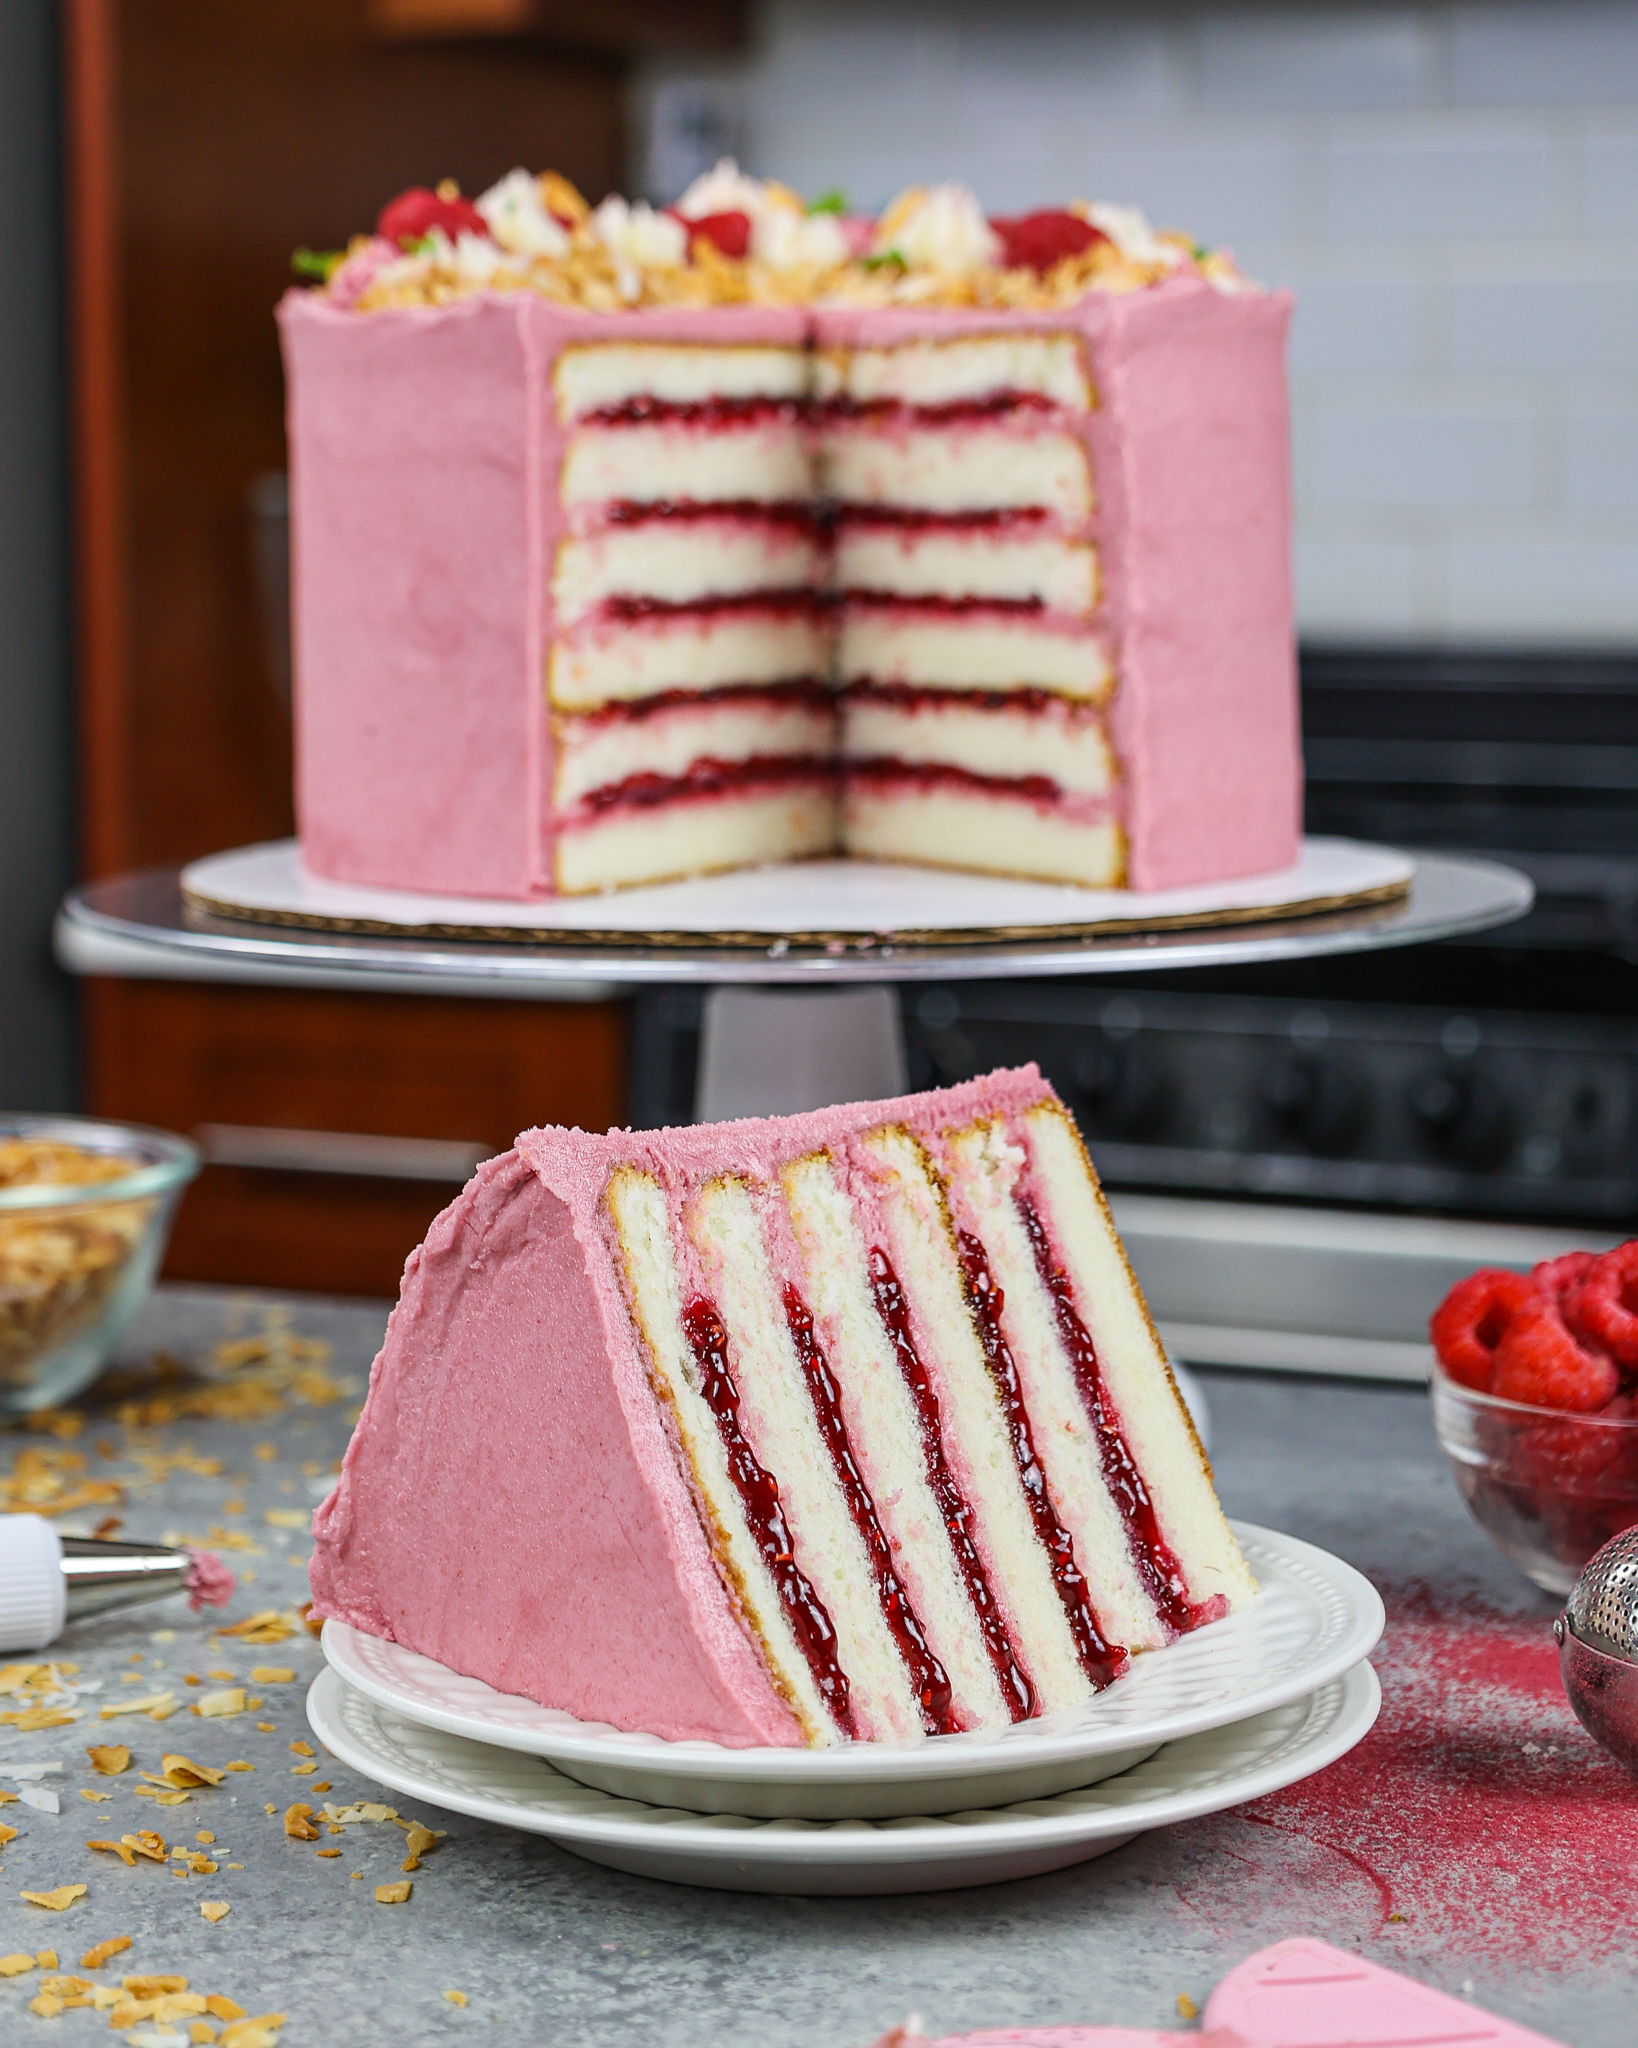
Just wondering if I could mix some powered raspberry into the mousse to give it a white chocolate and raspberry flavour?
Nicole
Friday 24th of June 2022
@Susannah, did it work? Im thinking if adding strawberry puree to mine and was wondering if it worked for you.
Laura Siegel
Sunday 3rd of April 2022
This looks delicious! Can I use gel past to color the white chocolate buttercream frosting, or does the white chocolate in the frosting not work with the gel paste? I want to make this cake this week for a friend's birthday so hope you're able to answer soon. THANK YOU VERY MUCH for sharing your talent and recipes with all of us.
Jodi
Sunday 27th of March 2022
oh my, chelsey! this cake was absolutely delicious...
I made just as written, except I folded in a cup of whipped heavy cream to the frosting to lighten it up a bit, as it was a little sweet for me. EVERYONE raved about your cake. the crumb was light and the flavors together were beautiful. we served the cake with raspberries and blueberries. yum!
thanks for a wonderful recipe (that I'll be making again!!)
White Chocolate Frosting Recipe: Easy 6-Ingredient Recipe
Wednesday 23rd of March 2022
[…] Brownies White Chocolate Mousse Cake Chocolate Drip Cake No Bake Cheesecake Bites Yield: […]